DIY Raspberry Pi ebook reader, part 3 - epaper display
Not your usual screen
I have to point out that epaper display does not work like normal LCD or OLED display you normally connect to Raspberry Pi. Instead of video driver, it comes with a library full of drawing routines you execute manually, like clear, draw, update and the like.1 This is not the end of differences, though. You have to be more mindful of refresh rate as those heavily impact longevity of a display. Typically you do not want to refresh more often than something like twice a minute, and certainly not every second (Waveshare recommends 180 s). Another important thing to keep in mind is the full refresh cycle which consists of repeated flashes of black and white - it is required to fully clear the image and prevent ghosting, and is tied to how epaper displays work.
Trip to the source
There is no more fun than to do a knee-deep dive into the inner workings of a program. I want to know how vendor library does what it does in the included demo, and try to replicate the effect. Here is a little breakdown of my excursion.
For starters I cloned the repository and explored the directory structure. I am interested in RaspberryPi_JetsonNano/c/, and especially RaspberryPi_JetsonNano/c/examples/EPD_7in5_V2_test.c. The file includes EPD_Test.h and EPD_7in5_V2.h. The latter is located in RaspberryPi_JetsonNano/c/lib/e-Paper/; it consists of width and height #defines and declarations of what seems to be the core functionality. It also includes DEV_Config.h, which declares GPIO pins used by the driver.
I need to know how to communicate with the screen. A quick glance at DEV_Config.c sufficed to find a very interesting part:
#ifdef RPI
    EPD_RST_PIN     = 17;
    EPD_DC_PIN      = 25;
    EPD_CS_PIN      = 8;
    EPD_PWR_PIN     = 18;
    EPD_BUSY_PIN    = 24;
Now I know where to tap into the hardware to send my commands.
Inspired engineering
In terms of commands in question I settled for epd-waveshare Rust library. I am sure rewriting the whole Waveshare library would be lots of fun, but I have to focus on making the project in finite time. I imported linux-embedded-hal and embedded-graphics and began writing code.
The first thing I had to do to use the display is to define all pins. I sifted through all example code I could find, and, coupled with the documentation and pinout, I came up with something like this:
let mut spi = Spidev::open("/dev/spidev0.0")?;
let options = SpidevOptions::new()
    .bits_per_word(8)
    .max_speed_hz(10_000_000)
    .mode(spidev::SpiModeFlags::SPI_MODE_0)
    .build();
spi.configure(&options).expect("spi configuration");

let cs_pin = Pin::new(26);
cs_pin.export().expect("cs_pin export");
while !cs_pin.is_exported() {}
cs_pin
    .set_direction(Direction::Out)
    .expect("cs_pin Direction");
cs_pin.set_value(1).expect("cs_pin Value set to 1");

let busy = Pin::new(24);
busy.export().expect("busy export");
while !busy.is_exported() {}
busy.set_direction(Direction::In).expect("busy Direction");

let dc = Pin::new(25);
dc.export().expect("dc export");
while !dc.is_exported() {}
dc.set_direction(Direction::Out).expect("dc Direction");
dc.set_value(1).expect("dc Value set to 1");

let rst = Pin::new(17);
rst.export().expect("rst export");
while !rst.is_exported() {}
rst.set_direction(Direction::Out).expect("rst Direction");
rst.set_value(1).expect("rst Value set to 1");

let mut delay = Delay {};

let mut epd = Epd7in5::new(&mut spi, cs_pin, busy, dc, rst, &mut delay)?;
let mut display = Display7in5::default();
Which is not basically the code copied from the examples. Yeah, totally. The wiki thankfully lists all the pins - I made sure to read the BCM2835 column and confirmed that indeed my HAT and HATs in the examples use the same pins.
To make something happen I invoke:
epd.wake_up(&mut spi, &mut delay)?;
then I render blank screen:
epd.clear_frame(&mut spi, &mut delay)?;
epd.display_frame(&mut spi, &mut delay)?;
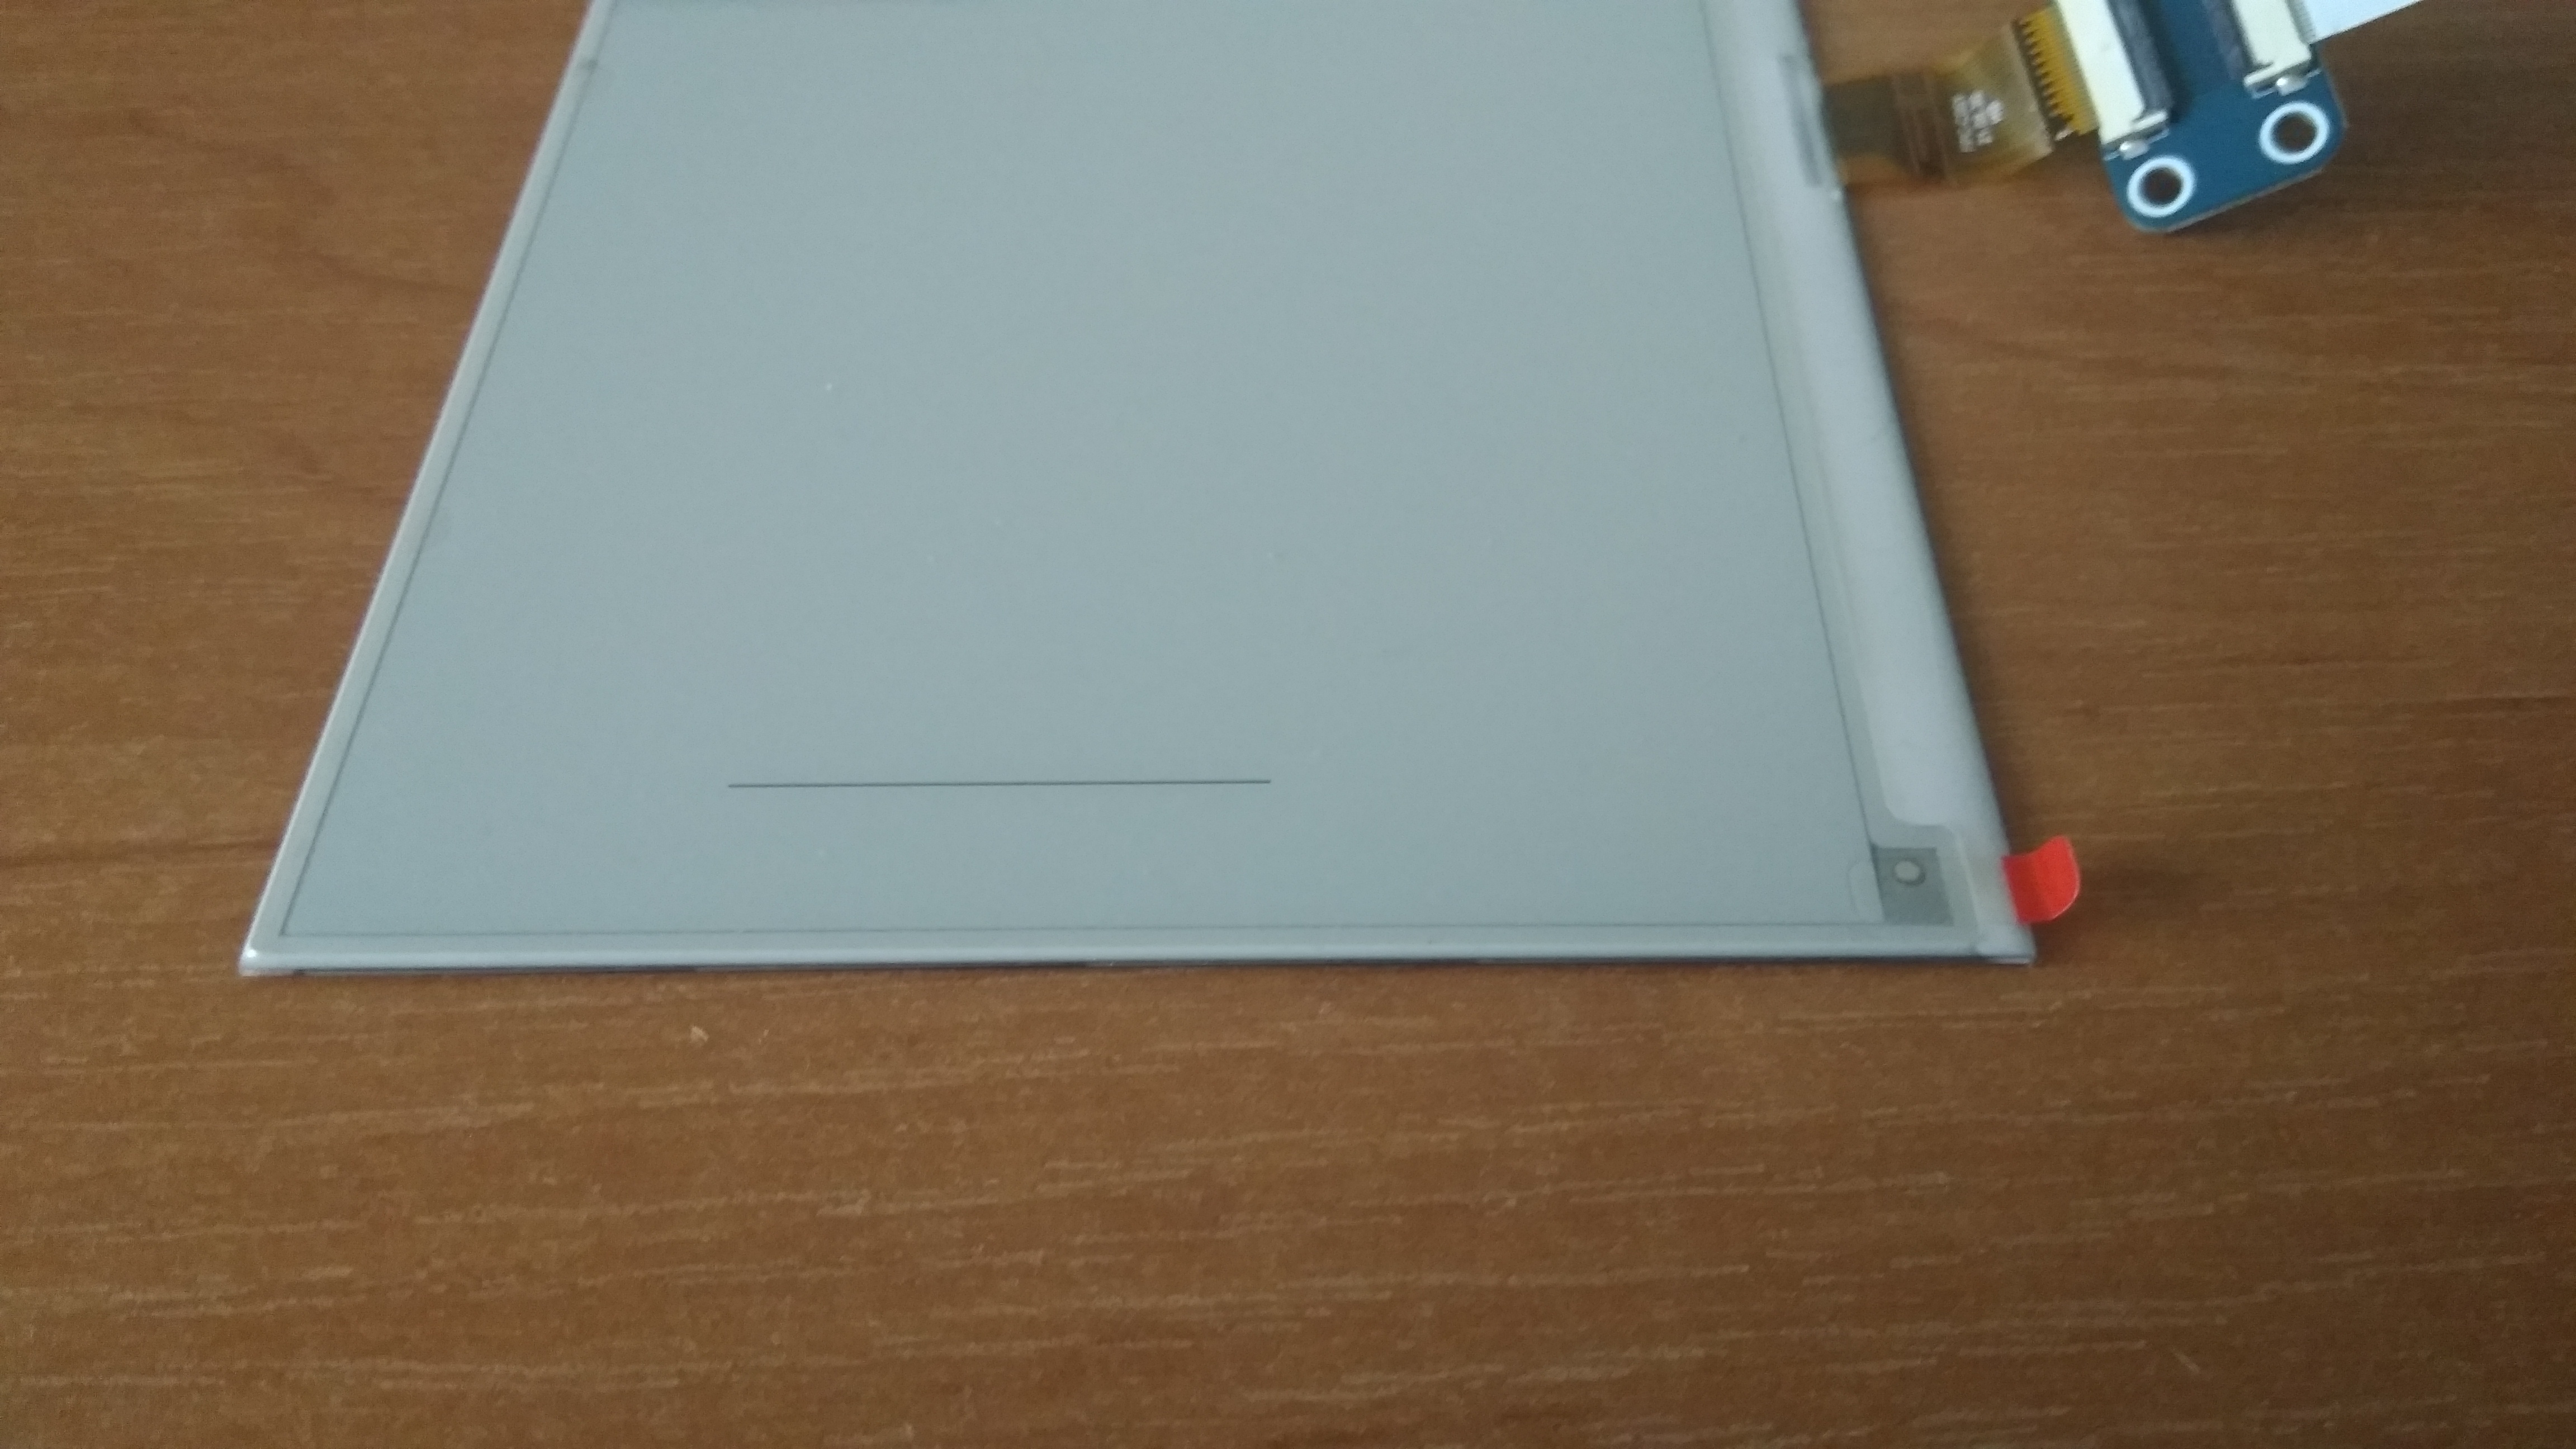
Cool. Now I want to see something on the screen. I do the most basic thing I could possibly imagine - draw a line:
let _ = Line::new(Point::new(0, 120), Point::new(0, 295))
    .into_styled(PrimitiveStyle::with_stroke(Black, 1))
    .draw(&mut display);
and update:
epd.update_frame(&mut spi, &display.buffer(), &mut delay)?;
epd.display_frame(&mut spi, &mut delay)?;
and, after exhausting day, I sleep:
epd.sleep(&mut spi, &mut delay)?;
I tried to replicate the overall structure of examples from Waveshare, especially the explicit sleep-wake up commands. This is where I did a test. I connected the HAT to Raspberry Pi, display to the HAT, and scp‘d my hot fresh binary.
Troubles
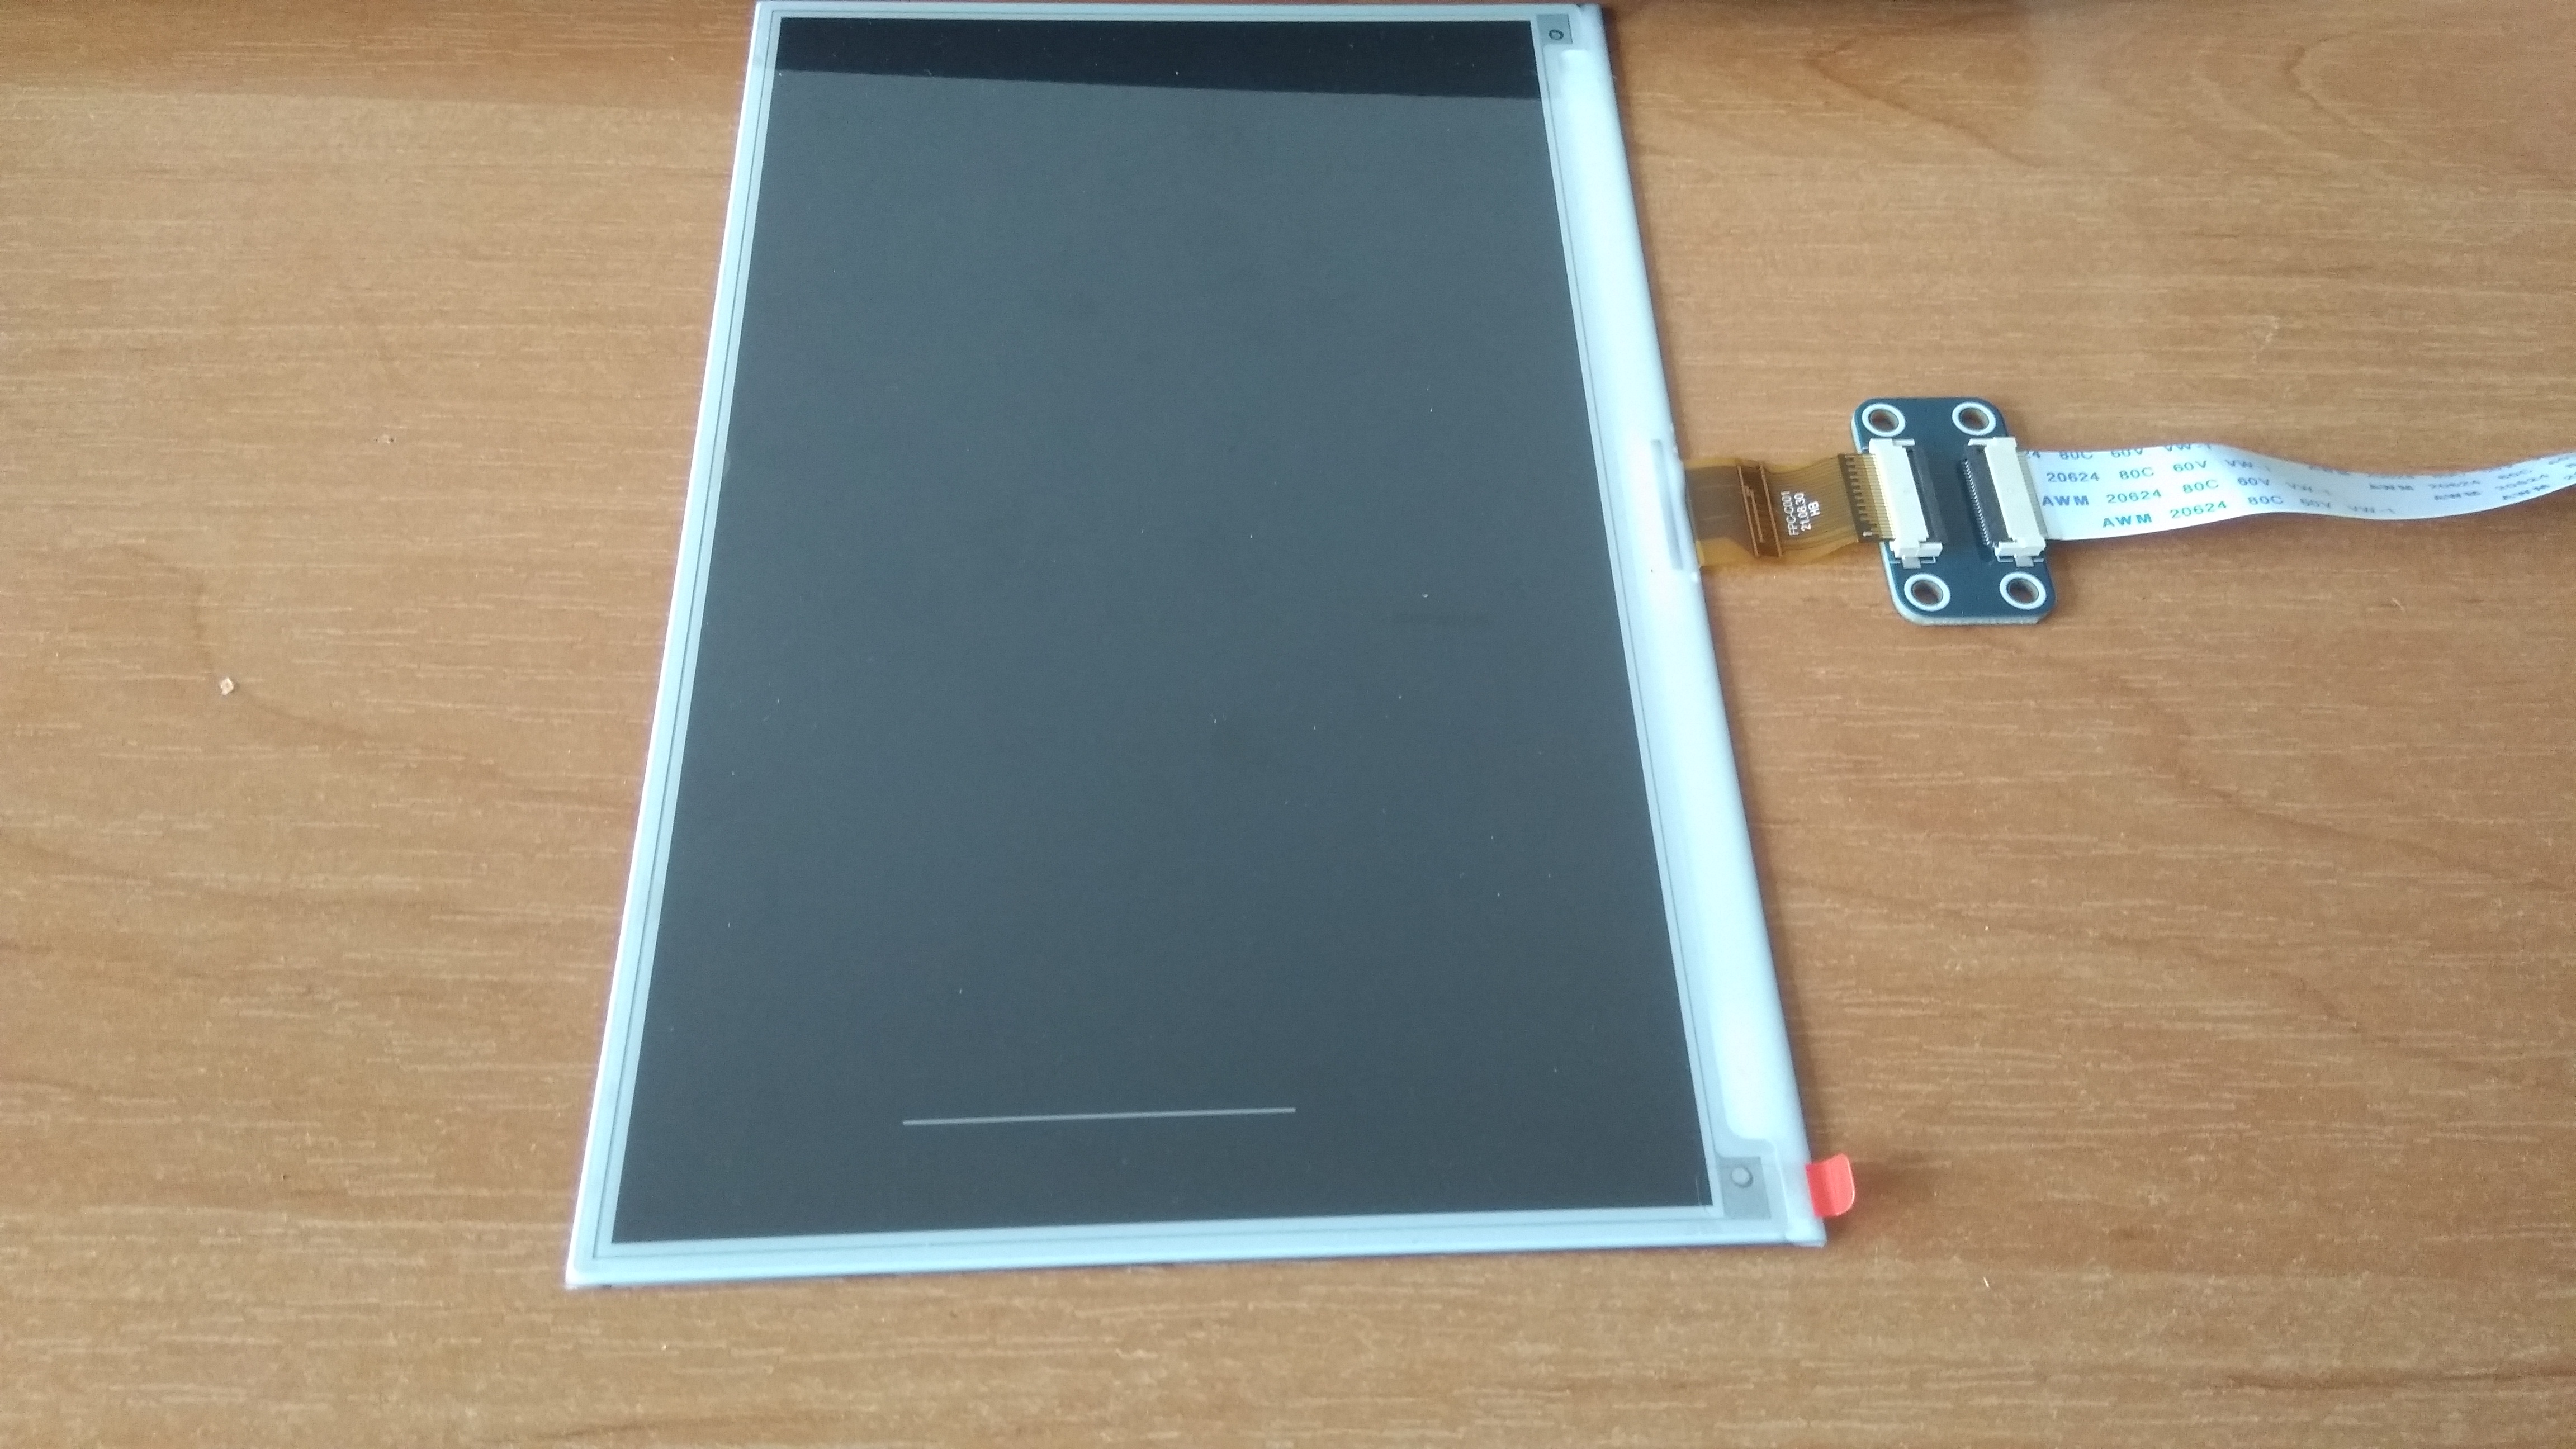
The process stopped at wake up call. After a while, the display went through flickering refresh twice, then stopped at update_frame. Another moment passed before the display flickered, painted white line on black background and the program exited. When I commented out wake_up, the proces got stuck on clear_frame and everything else was as before.
It looks like the communication between Pi and screen is horribly slow. Besides that, I thought the colors would be inverted (black line on white background). I had to make more digging.
 The issue with horrendous delay appears to be a known thing, the same with inverted colors. Well, at least I know where the problem lies. After some more time spent on GitHub I found this, which intrigued me very much. This fix sends data blocks instead of sending data bit by bit. Maybe the answer was right before my eyes. I instructed Cargo to download crate from commit 97425d5 and made necessary changes in my code to reflect changes to the interface. I compiled and ran the code only to see almost the same thing. The screen does not show the line (although the background is white, so that is a partial win), but has no delay on
 update_frame. The delay on clear_frame persists and lasts about 30 seconds.
Then I found the culprit when it comes to the line not showing up. I deduced it might have something to do with the color problem not being really solved and boy, was I right. The colors are still messed up in a sense that the background works ok, but I was drawing white line on white background. After changing Black in .into_styled(PrimitiveStyle::with_stroke(Color::Black, 1)) to White, a black line shows up on a white background.
 The next day I figured what was taking so long - it was
 clear_frame command. The update_frame and display_frame work fine. Also, the display_frame after clear_frame is redundant. Leaving the problem for the next day works wonders! Although I found the culprit, it did not really solve my problem. Clearing frame is essential, but is exceptionally slow, unacceptably so.
Words
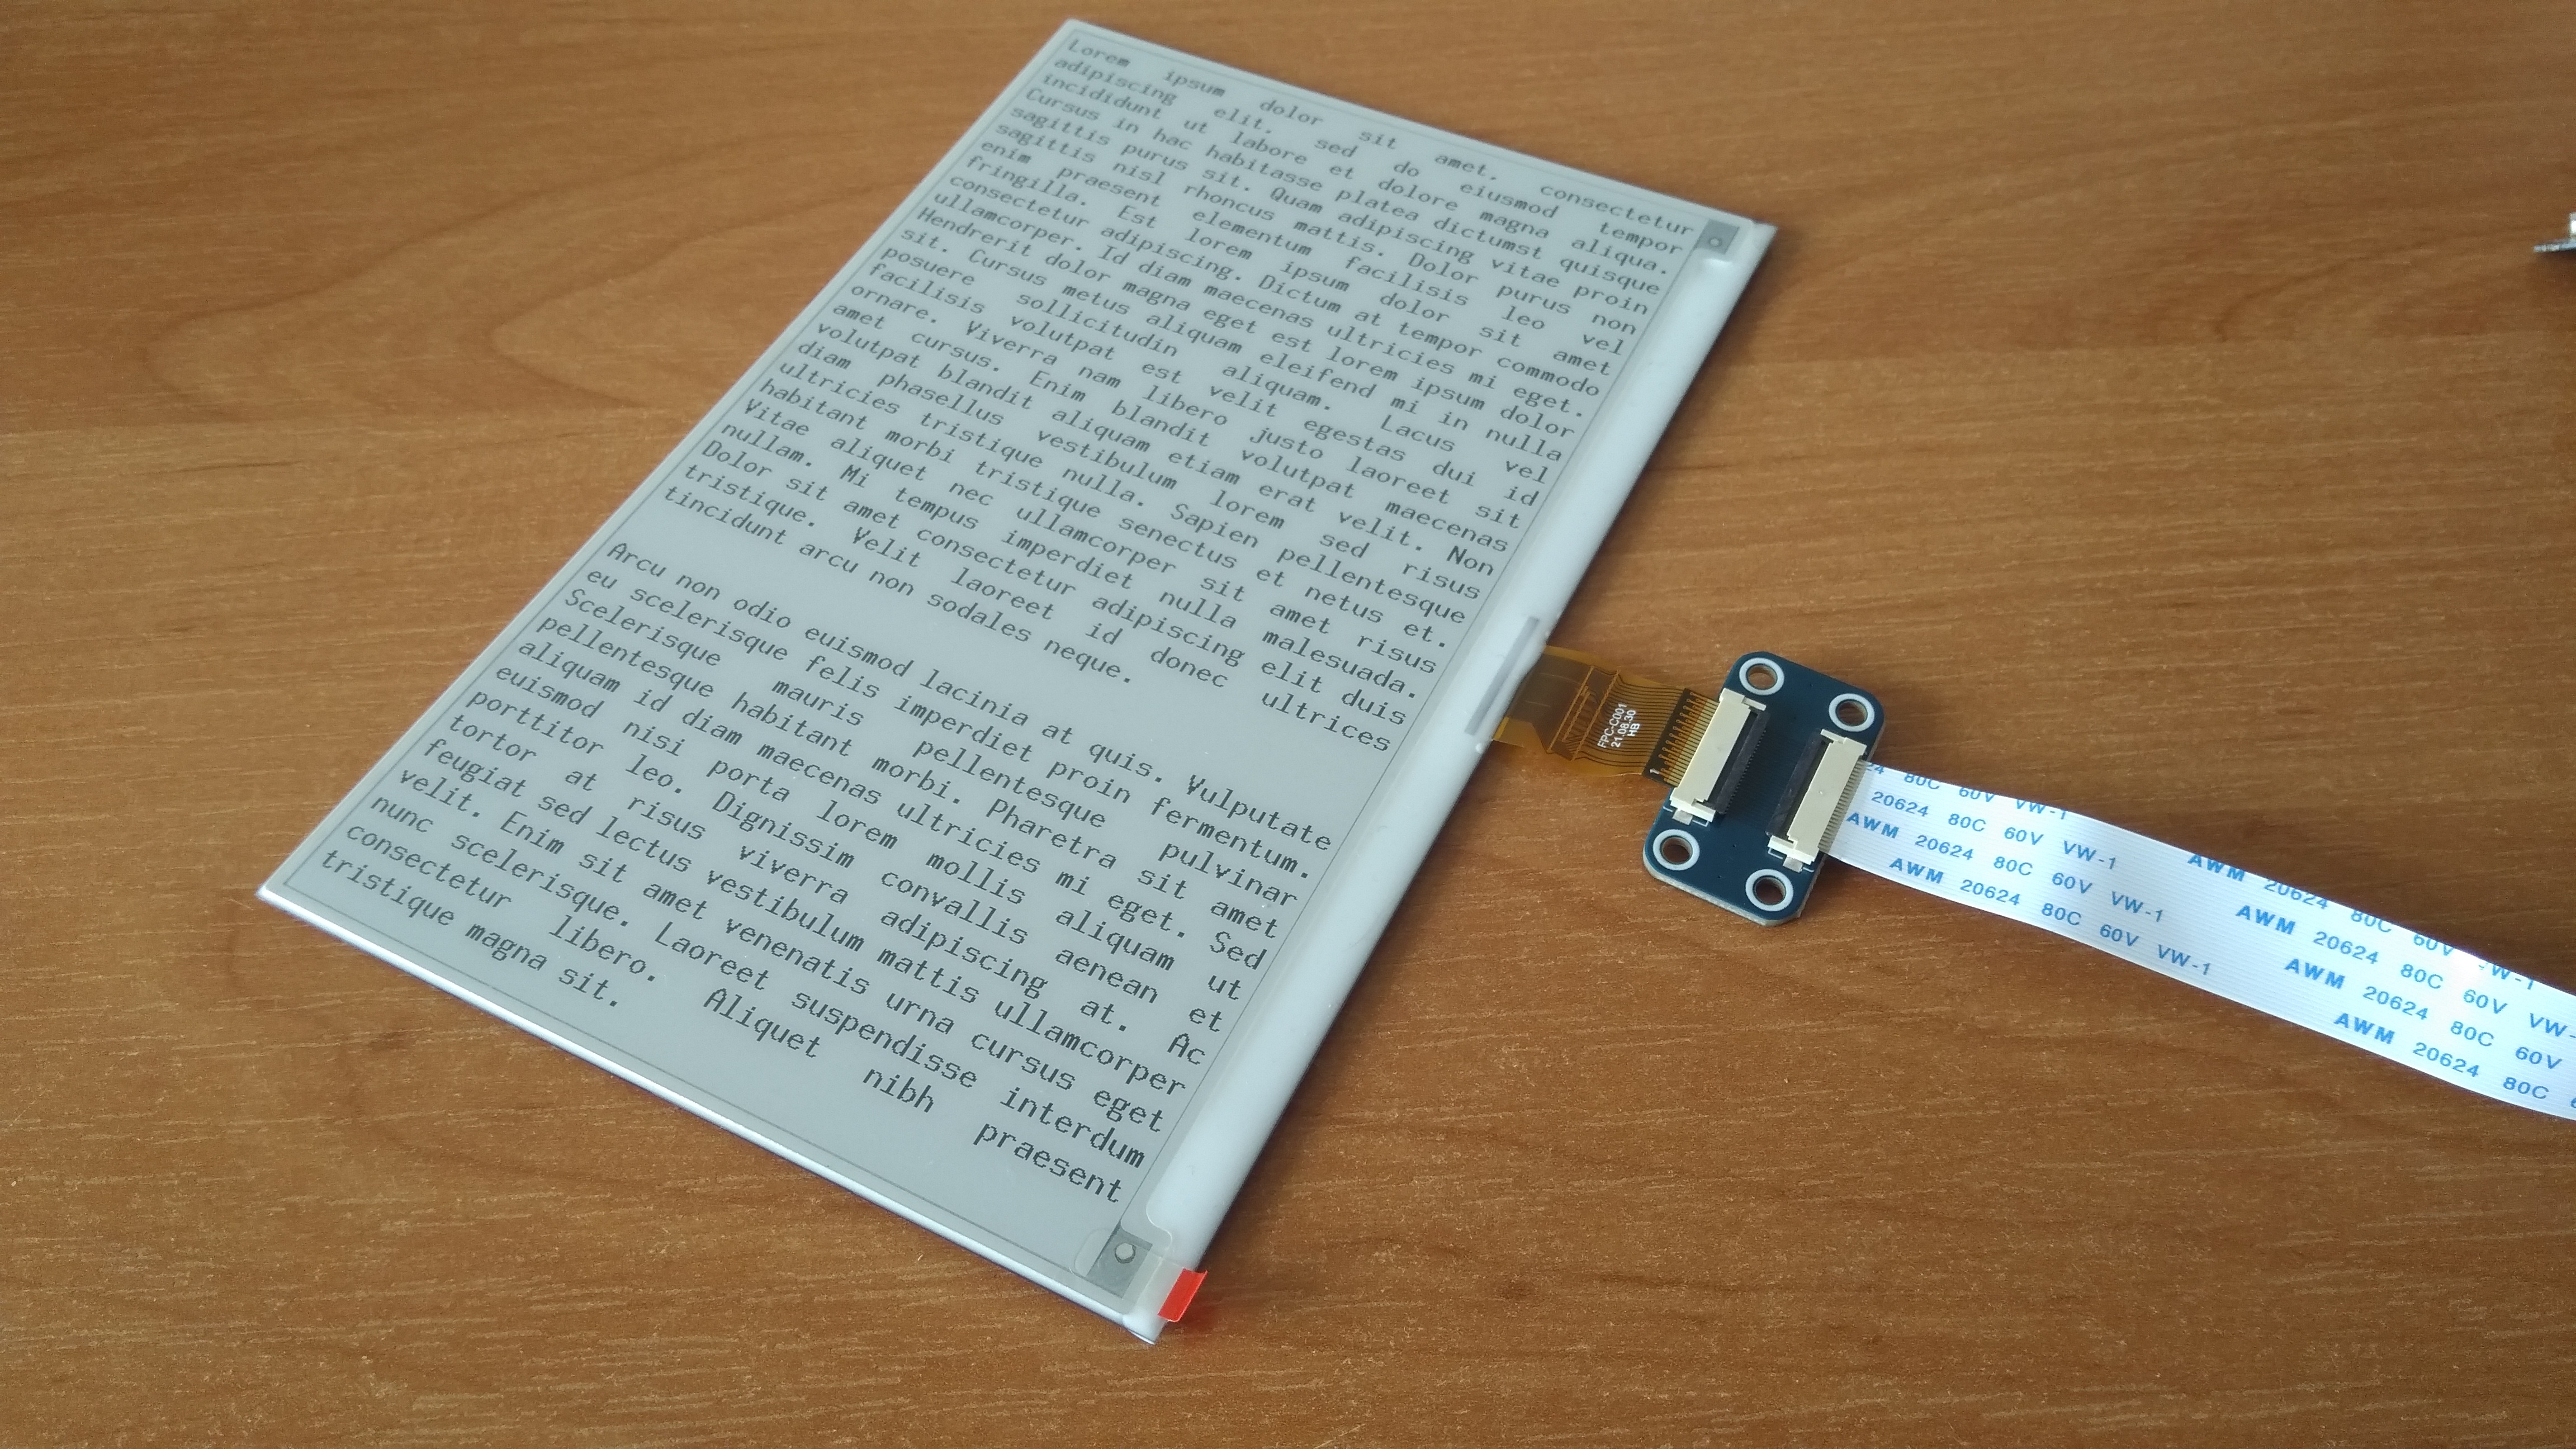
Rendering graphics seems to be working fine, so this was time to test the essential part of ebook reader - text display. Text generated by the embedded-graphics, however, is fitted in just one and can go beyond the display. From now on I will be using embedded-text crate instead of embedded-graphics text utilities because it offers textboxes with wrappable text out of the box.
I had to use version 0.5.0 because newer version conflicts with version 0.7.0 of embedded-graphics which I have to use because of many errors I get when using it with epd-waveshare. The compiler gives me a warning about some code that will be deprecated in future releases of Rust, but I do not care about it at the moment, I want something that works just now.
By the documentation, I create a text variable holding some text (Lorem ipsum in my case), and then paste the magical lines:
let text = "Lorem ipsum...";
let character_style = MonoTextStyle::new(&FONT_10X20, Color::White);
let textbox_style = TextBoxStyleBuilder::new()
    .height_mode(HeightMode::FitToText)
    .alignment(HorizontalAlignment::Justified)
    .paragraph_spacing(6)
    .build();
let bounds = Rectangle::new(Point::zero(), Size::new(480, 0));
let text_box = TextBox::with_textbox_style(text, bounds, character_style, textbox_style);
let _ = text_box.draw(&mut display).unwrap();
The above code feels pretty self-descriptive, but I will write an overview anyway: character_style declares the font size and color of pixels of text; textbox_style sets preferences - how to fit the text in a textbox, how to align it and the paragraph spacing; bounds is a bounding box of the textbox - height 0 works because I2 set a FitToText mode, meaning the textbox will vary its height to the contents; text_box is the thing I will actually pass to the display in the next line.
 This works like a charm. To make the text more book-like, I changed
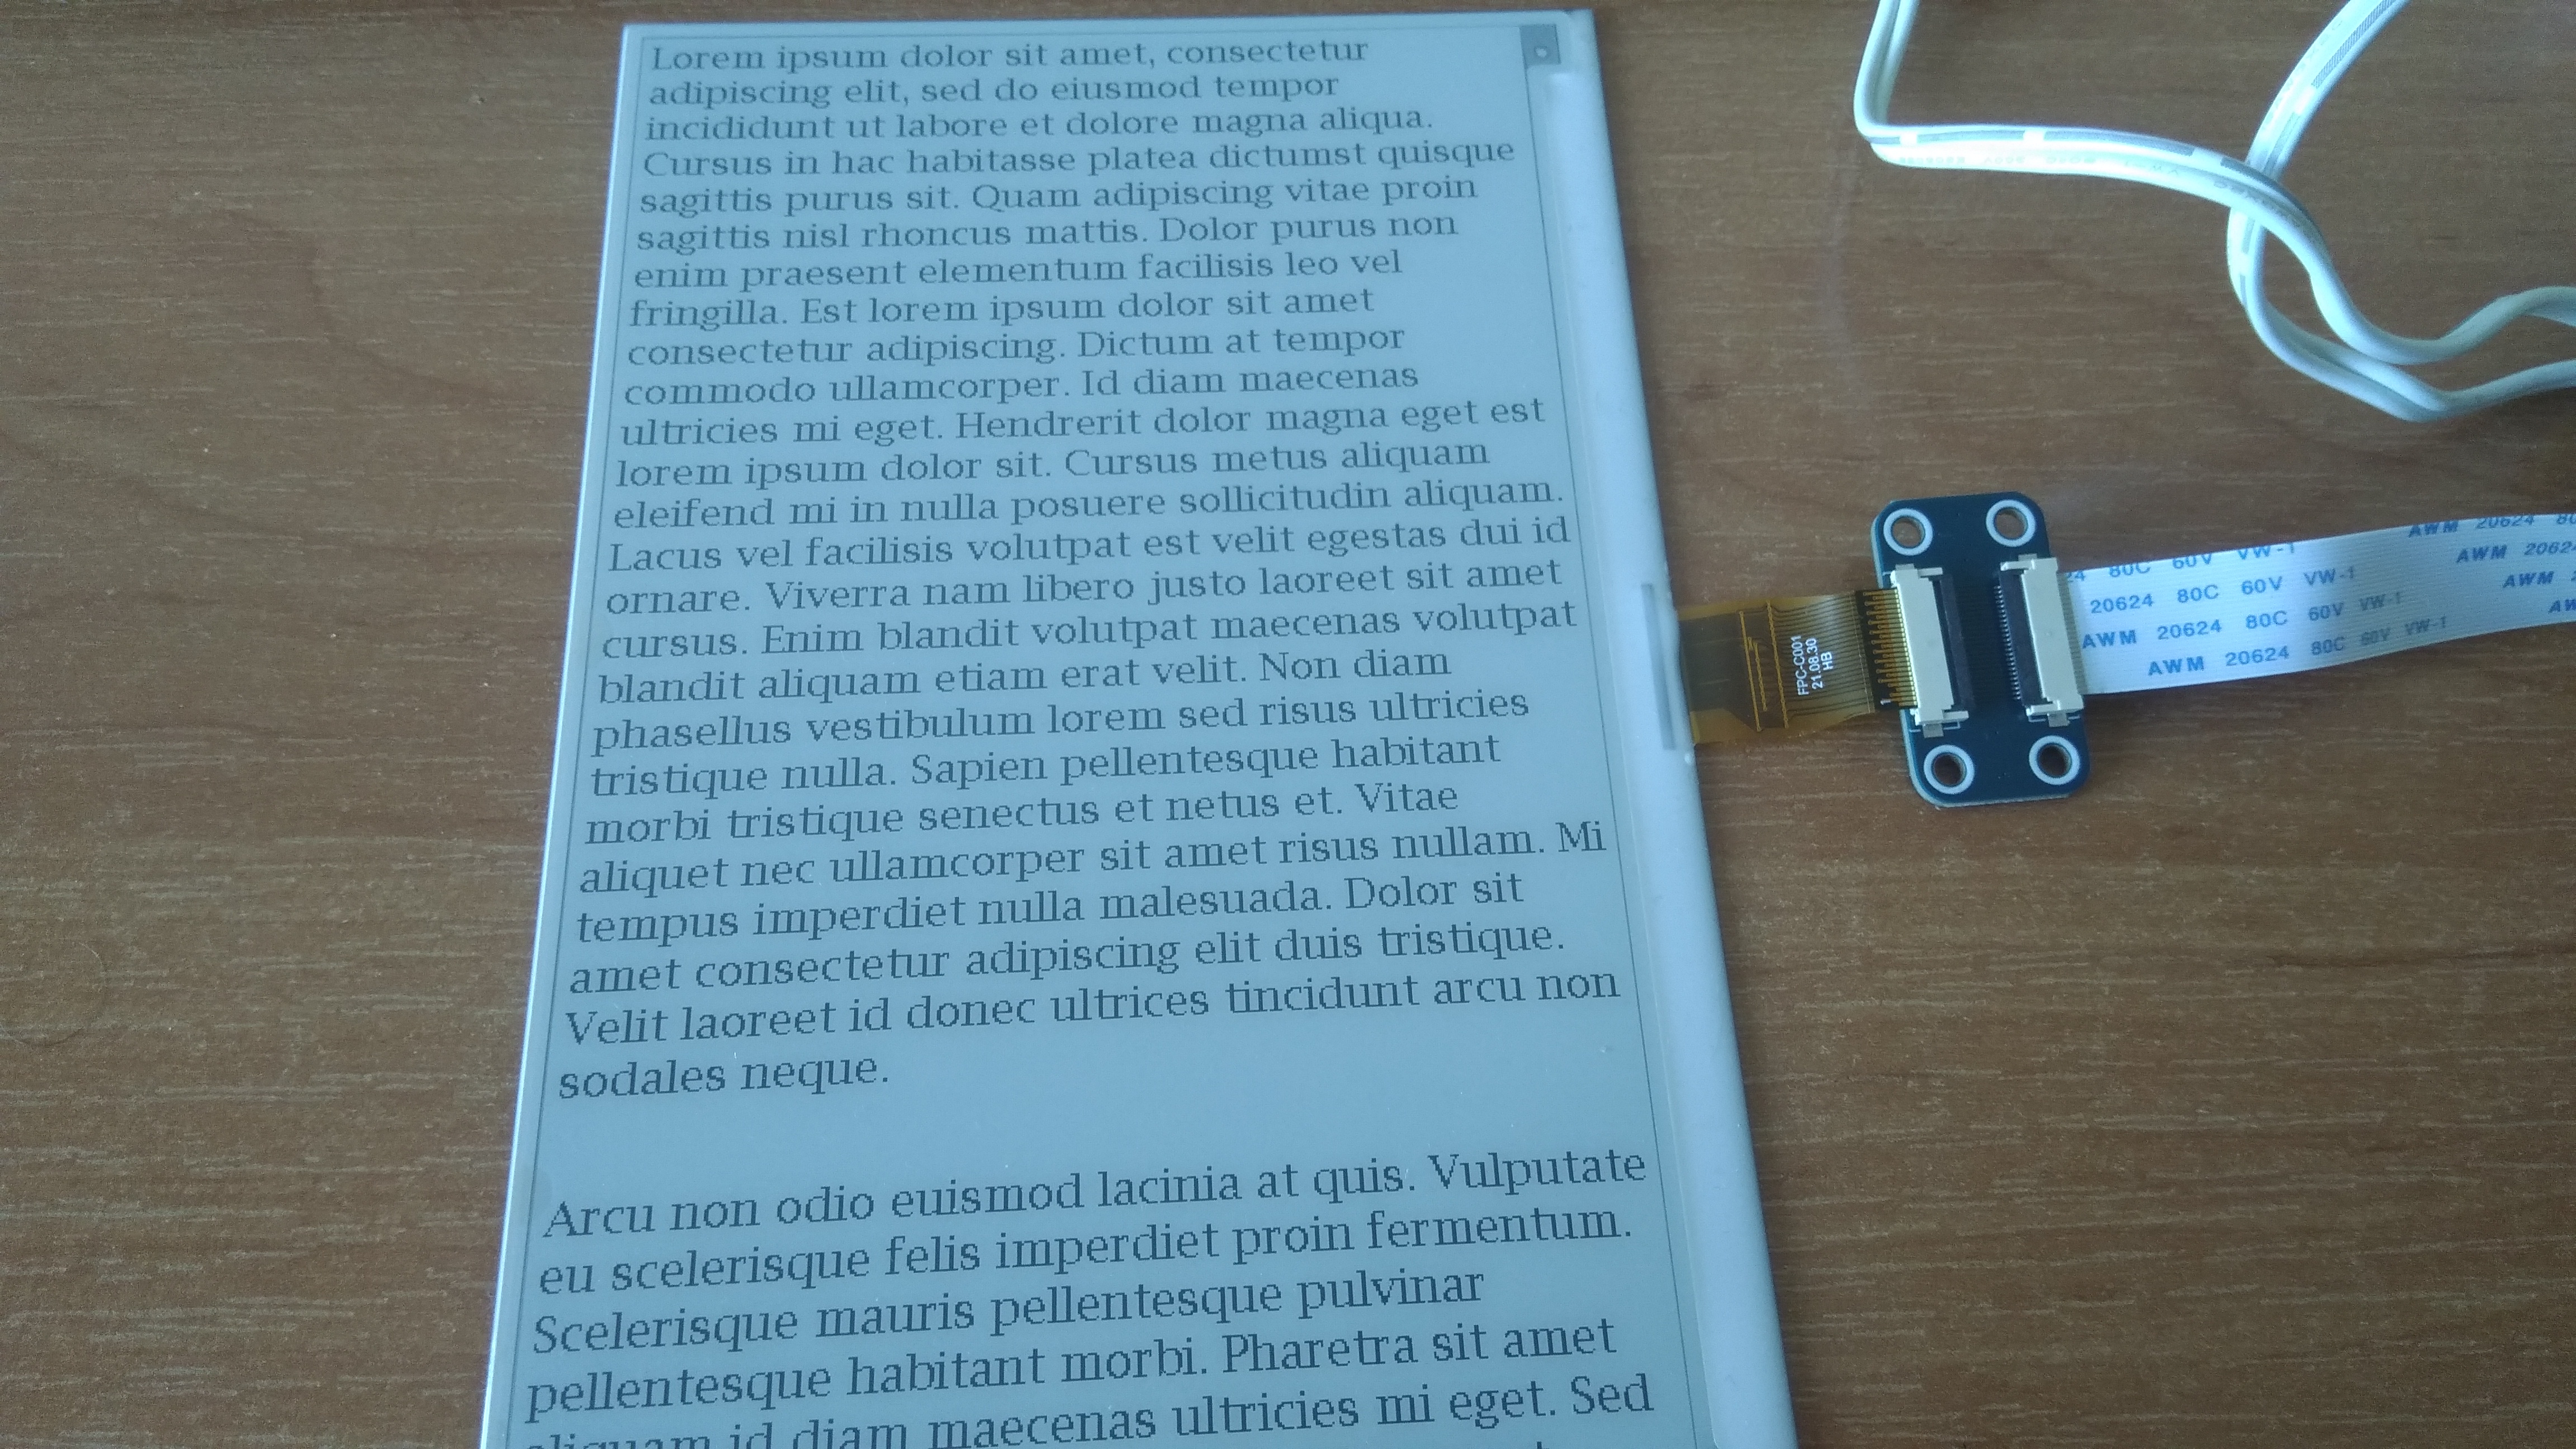
 Justified to Left. Unfortunaely, embedded-graphics does not provide any variable-width fonts. Fortunately, I discovered u8g2-fonts crate, which supports non-monospace fonts in embedded environments. I spent too long figuring out how to use these two together, so without bothering you with a relation of my frantic journey, I will just show you how I did the thing.
I imported u8g2_fonts with u8g2-fonts = { version = "0.2.0", features = ["embedded_graphics_textstyle"] } in Cargo.toml - Version 0.2.0 works for me, whereas newer version does not; the feature I am enabling is needed to allow the use of U8g2TextStyle embedded-graphics compatibility layer. The modification of previous code is as follows:
let font = u8g2_fonts::fonts::u8g2_font_lubR14_tf;
let character_style = u8g2_fonts::U8g2TextStyle::new(font, Color::White);
let text_box = TextBox::with_textbox_style(text, bounds, character_style, textbox_style);
let _ = text_box.draw(&mut display).unwrap();
In a nutshell, I swapped character_style to one from 8ug2-fonts. I used the u8g2_font_lubR14_tf font because it looks very non-monospace’y for the sake of presentation.
 Text display - check!
What next
I know how to control the display, which is a huge step forward in my journey towards DIY ebook reader. For the next part I am planning to master the button input and maybe do some battery-level-dependent behavior. I am leaving the screen clearing problem for another day.