DIY Raspberry Pi ebook reader, part 2 - setting things up
Body and mind
Since I have now acquired all the hardware I wanted, I can learn to use it and make something great. Before I delve into designing interface, I must first install required software and check the physical layer for any issues.
Prepping Raspberry Pi
Raspberry Pi Zero W is an SBC which supports full operating systems, in contrast to other popular hobbyist platform Arduino. The usual way of doing things is to install Raspberry Pi OS (formerly Raspbian; I liked that name better, shame they changed that), an official dedicated Debian GNU/Linux based distro with a wealth of programs available in its repository. This is an excellent choice for people who do not wish to spend hours fiddling with stuff and who do not care about conserving resources to the extreme while sacrificing their sanity. Obviously this is not me, so I started looking for other things to put in my Pi.
The first thing to come to my mind was BSD. This family of OSes is not exactly known to be the first choice for Raspberry Pi, and I have never actually encountered a project using one. I have never used BSD before, so I was thrilled by the prospect of learning alien system in, I believe, quite niche setup. But then I began to worry about driver support - I have custom hardware to connect, and vendor libraries are mostly written with Linux in mind. The last straw was a table in wiki which claims that the WiFi in Zero W is unsupported.
Going back to the Linux world, I still did not give up on using something different than Raspbian Raspberry Pi OS. Looking for other options I stumbled across Arch Linux ARM. I have never really used Arch before, so the feeling was similar as before. However, doubts started to arise - am I ready to take up all those hardships of learning different distro, hardware control and electronics all at once? Debian-based distros are familiar to me, so at least if matters go haywire I am not stuck fighting with a system, especially package manager.
Defeated, I started seeking Raspbian Raspberry Pi OS derivatives that are not Raspberry Pi OS. From my earlier days of Raspberry Pi experiments I remembered DietPi, a lightweight spin on Rasp Raspberry Pi OS with an optimized set of programs. I decided to give it a go, because it scratches that minimalist itch of mine.
The whole process of configuration is unremarkable. I flashed the SD card and edited the diepi.txt and dietpi-wifi.txt files to connect the Pi to the Internet on first boot, just as instruction told me to. I then put the card in and proceeded to sweep the network in search of the device, so that I can connect through SSH and perform headless install. This process took longer than anticipated, because In my impatience I aborted the process several times thinking I missed something in the config. When I finally found the address, I connected and changed the passwords and such.
Environment
Now that I had a working platform, I could start thinking about the software stuff.
In terms of my language of choice, I picked Rust - my new favorite toy in programming. Rust is well suited for embedded programming, and work with its package manager Cargo is a breeze.
In terms of gathering drivers and libraries, I began with epaper display. According to the wiki I had to enable SPI interface, which is hidden in Advanced Options of dietpi-config. Then I installed bcm2835 library used by Waveshare’s demo code, which I might later cannibalize for screen control.
Button SHIM comes with a Python library. I refuse to use Python outside scientific work, and especially in low-level applications, so I started looking for Rust alternatives. I found something just for this purpose and thus looked no further.
To use the UPS HAT I just had to enable I2C interface.
Testing hardware
Display
The first component I wanted to test was the epaper display. Thera are two ways of connecting it to the main board: the first and arguably the easiest is to put a HAT on Raspberry Pi, the more challenging way is to use the 8PIN cable that comes with the screen and manually plug in the cables onto header. For the purpose of checking if things are working all right I went the HAT way, because I do not want to risk frying the screen just yet. I connected the flat cables between boards and display and was ready to go.
The demo code I downloaded from Waveshare’s site is a bit messy, but as they stated somewhere in the files, that is because the library is written for all models they sell and writing redundant code would be pointless. Instead, provided Makefile composes the right demo for chosen display model during compilation. Per included readme, I executed:
# make EPD=epd7in5V2
Make created epd executable in the working directory. When I ran it (with root), the display started flashing black and white and spat out different test pictures. I was quite impressed and satisfied with what I saw.
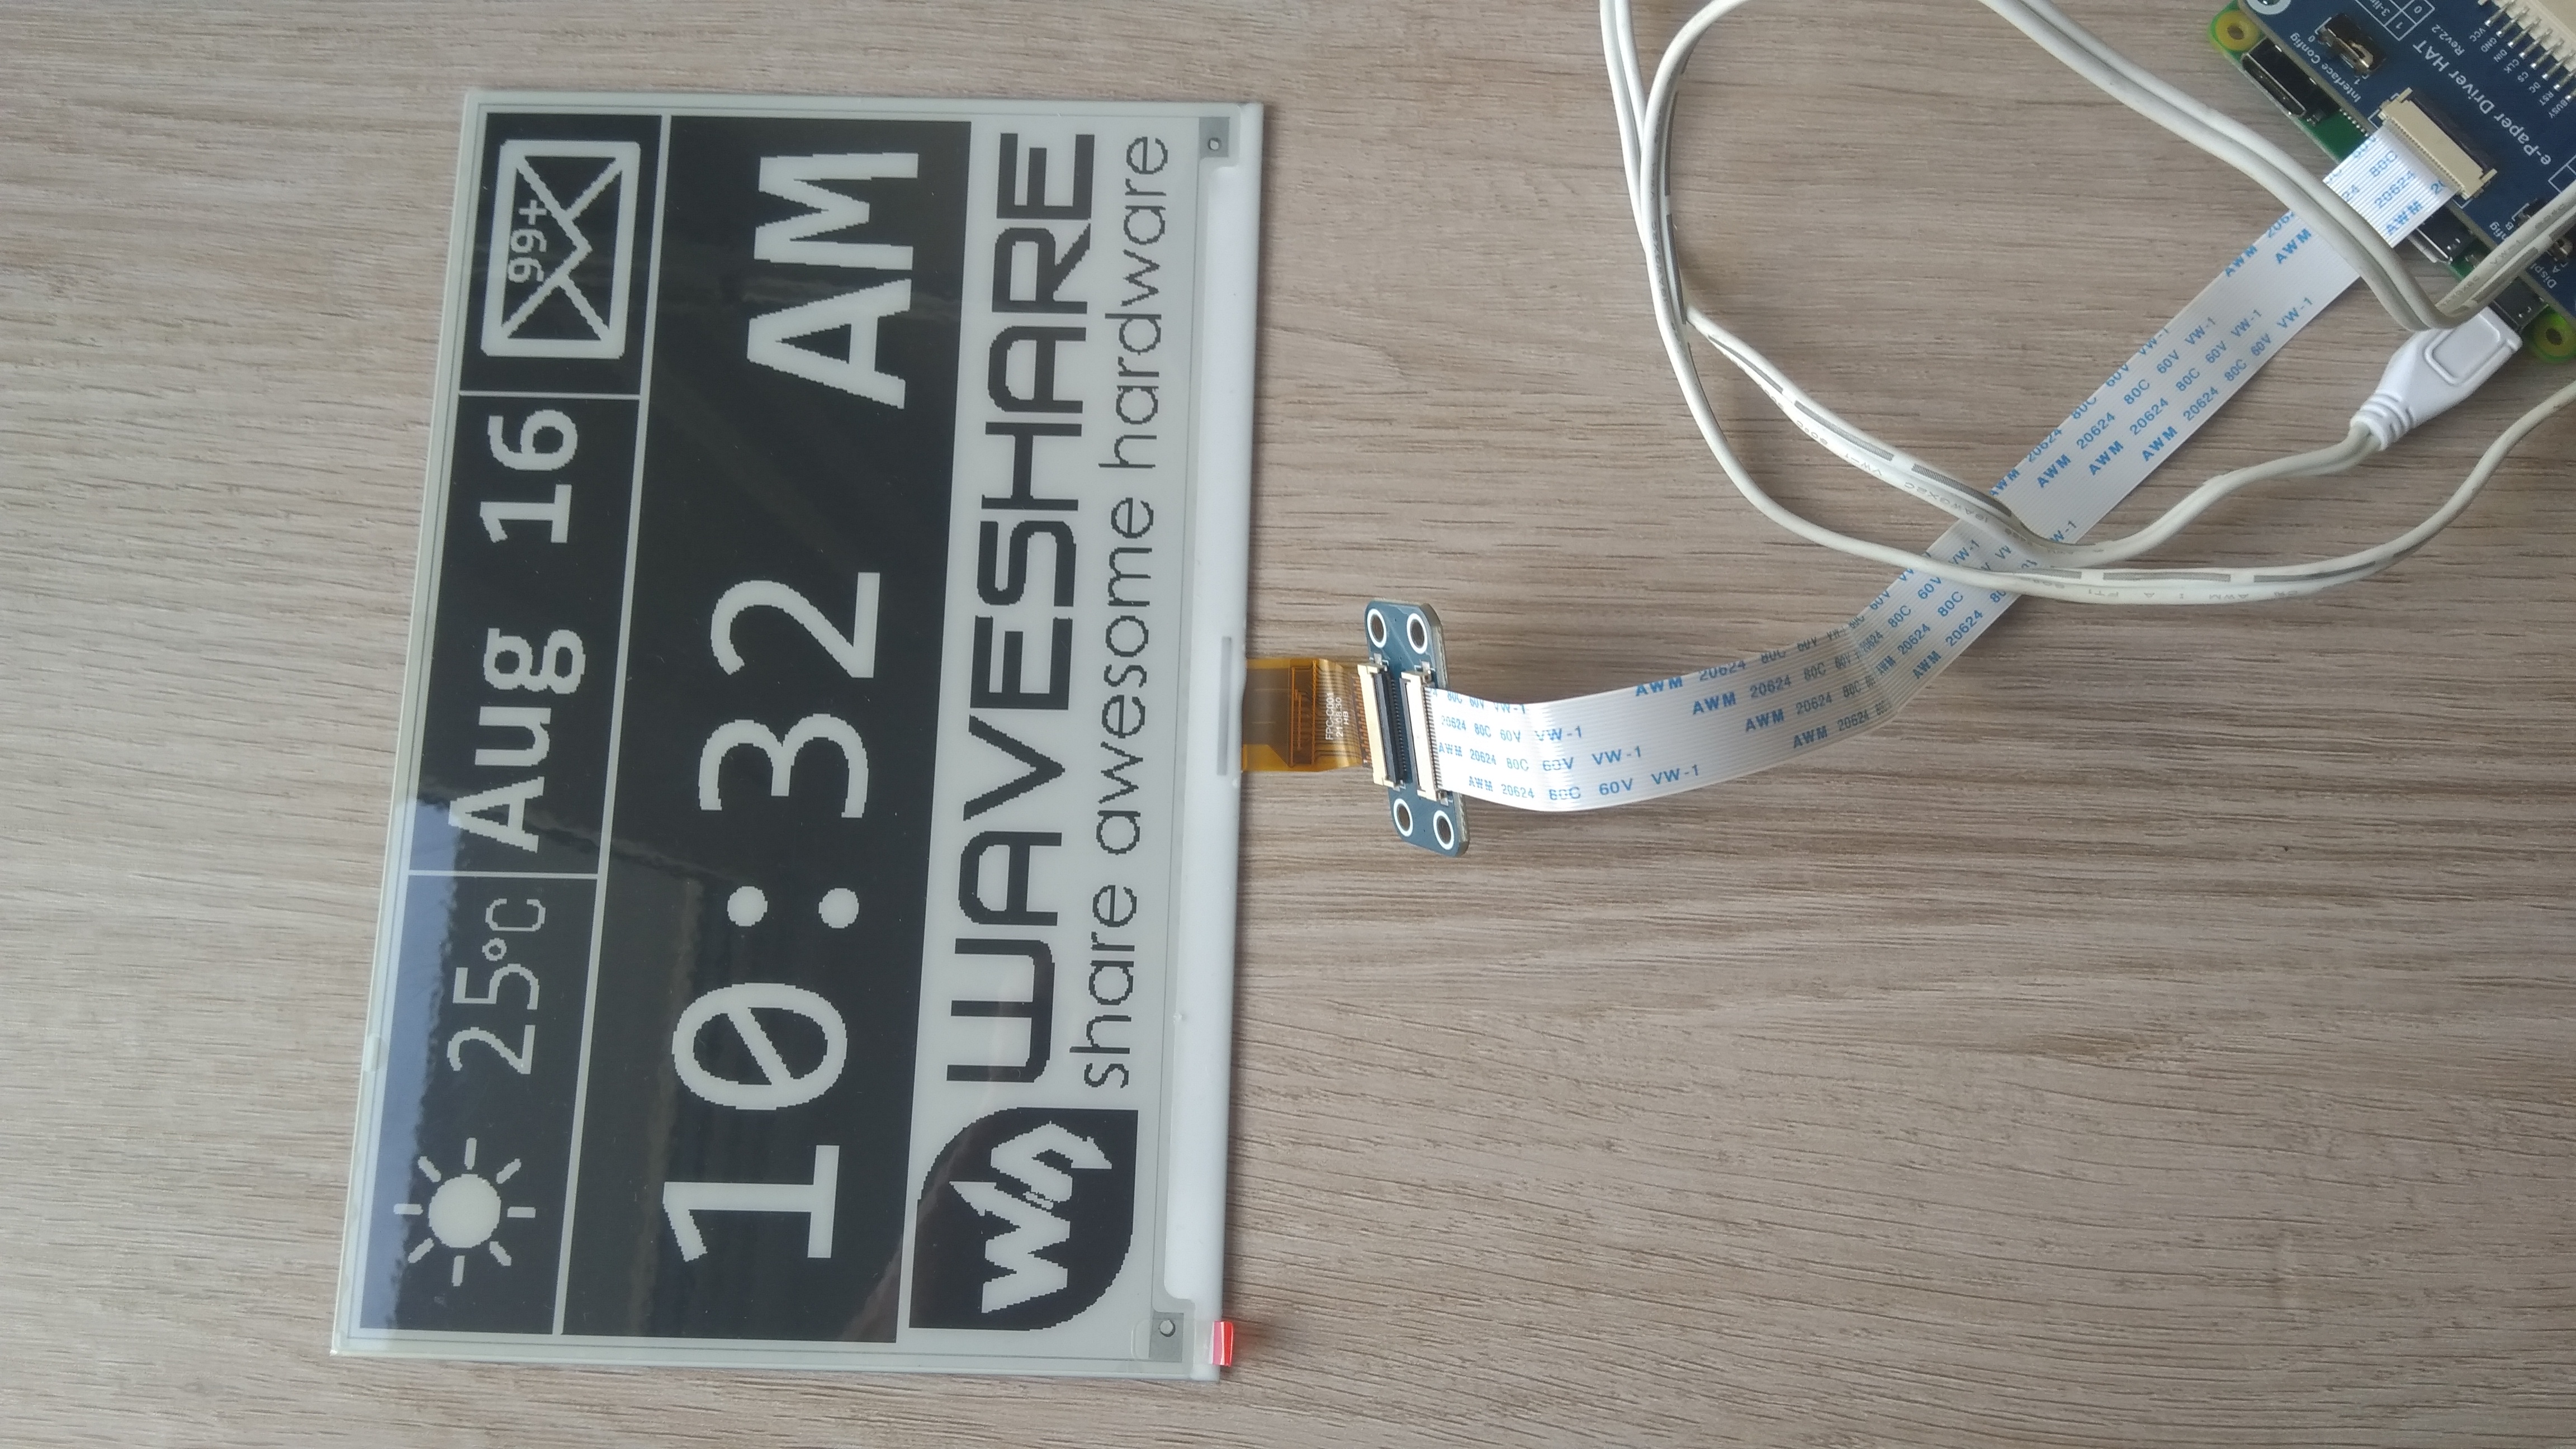 Epaper display - check!
UPS
Raising difficulty bar by one level, I proceeded to test the power supply. I want to power my Pi with Akyga LiPol I purchased, which comes bundled with JST-BEC female connector with dangling cables for self-assembly. The board has no JST-BEC socket, but has two soldering pads for custom wiring. I proceeded to solder connector to the board. Whew! I get anxious when I solder so close to the delicate electronics, let alone power supply. Solders passed the test of strength, which made me glad.
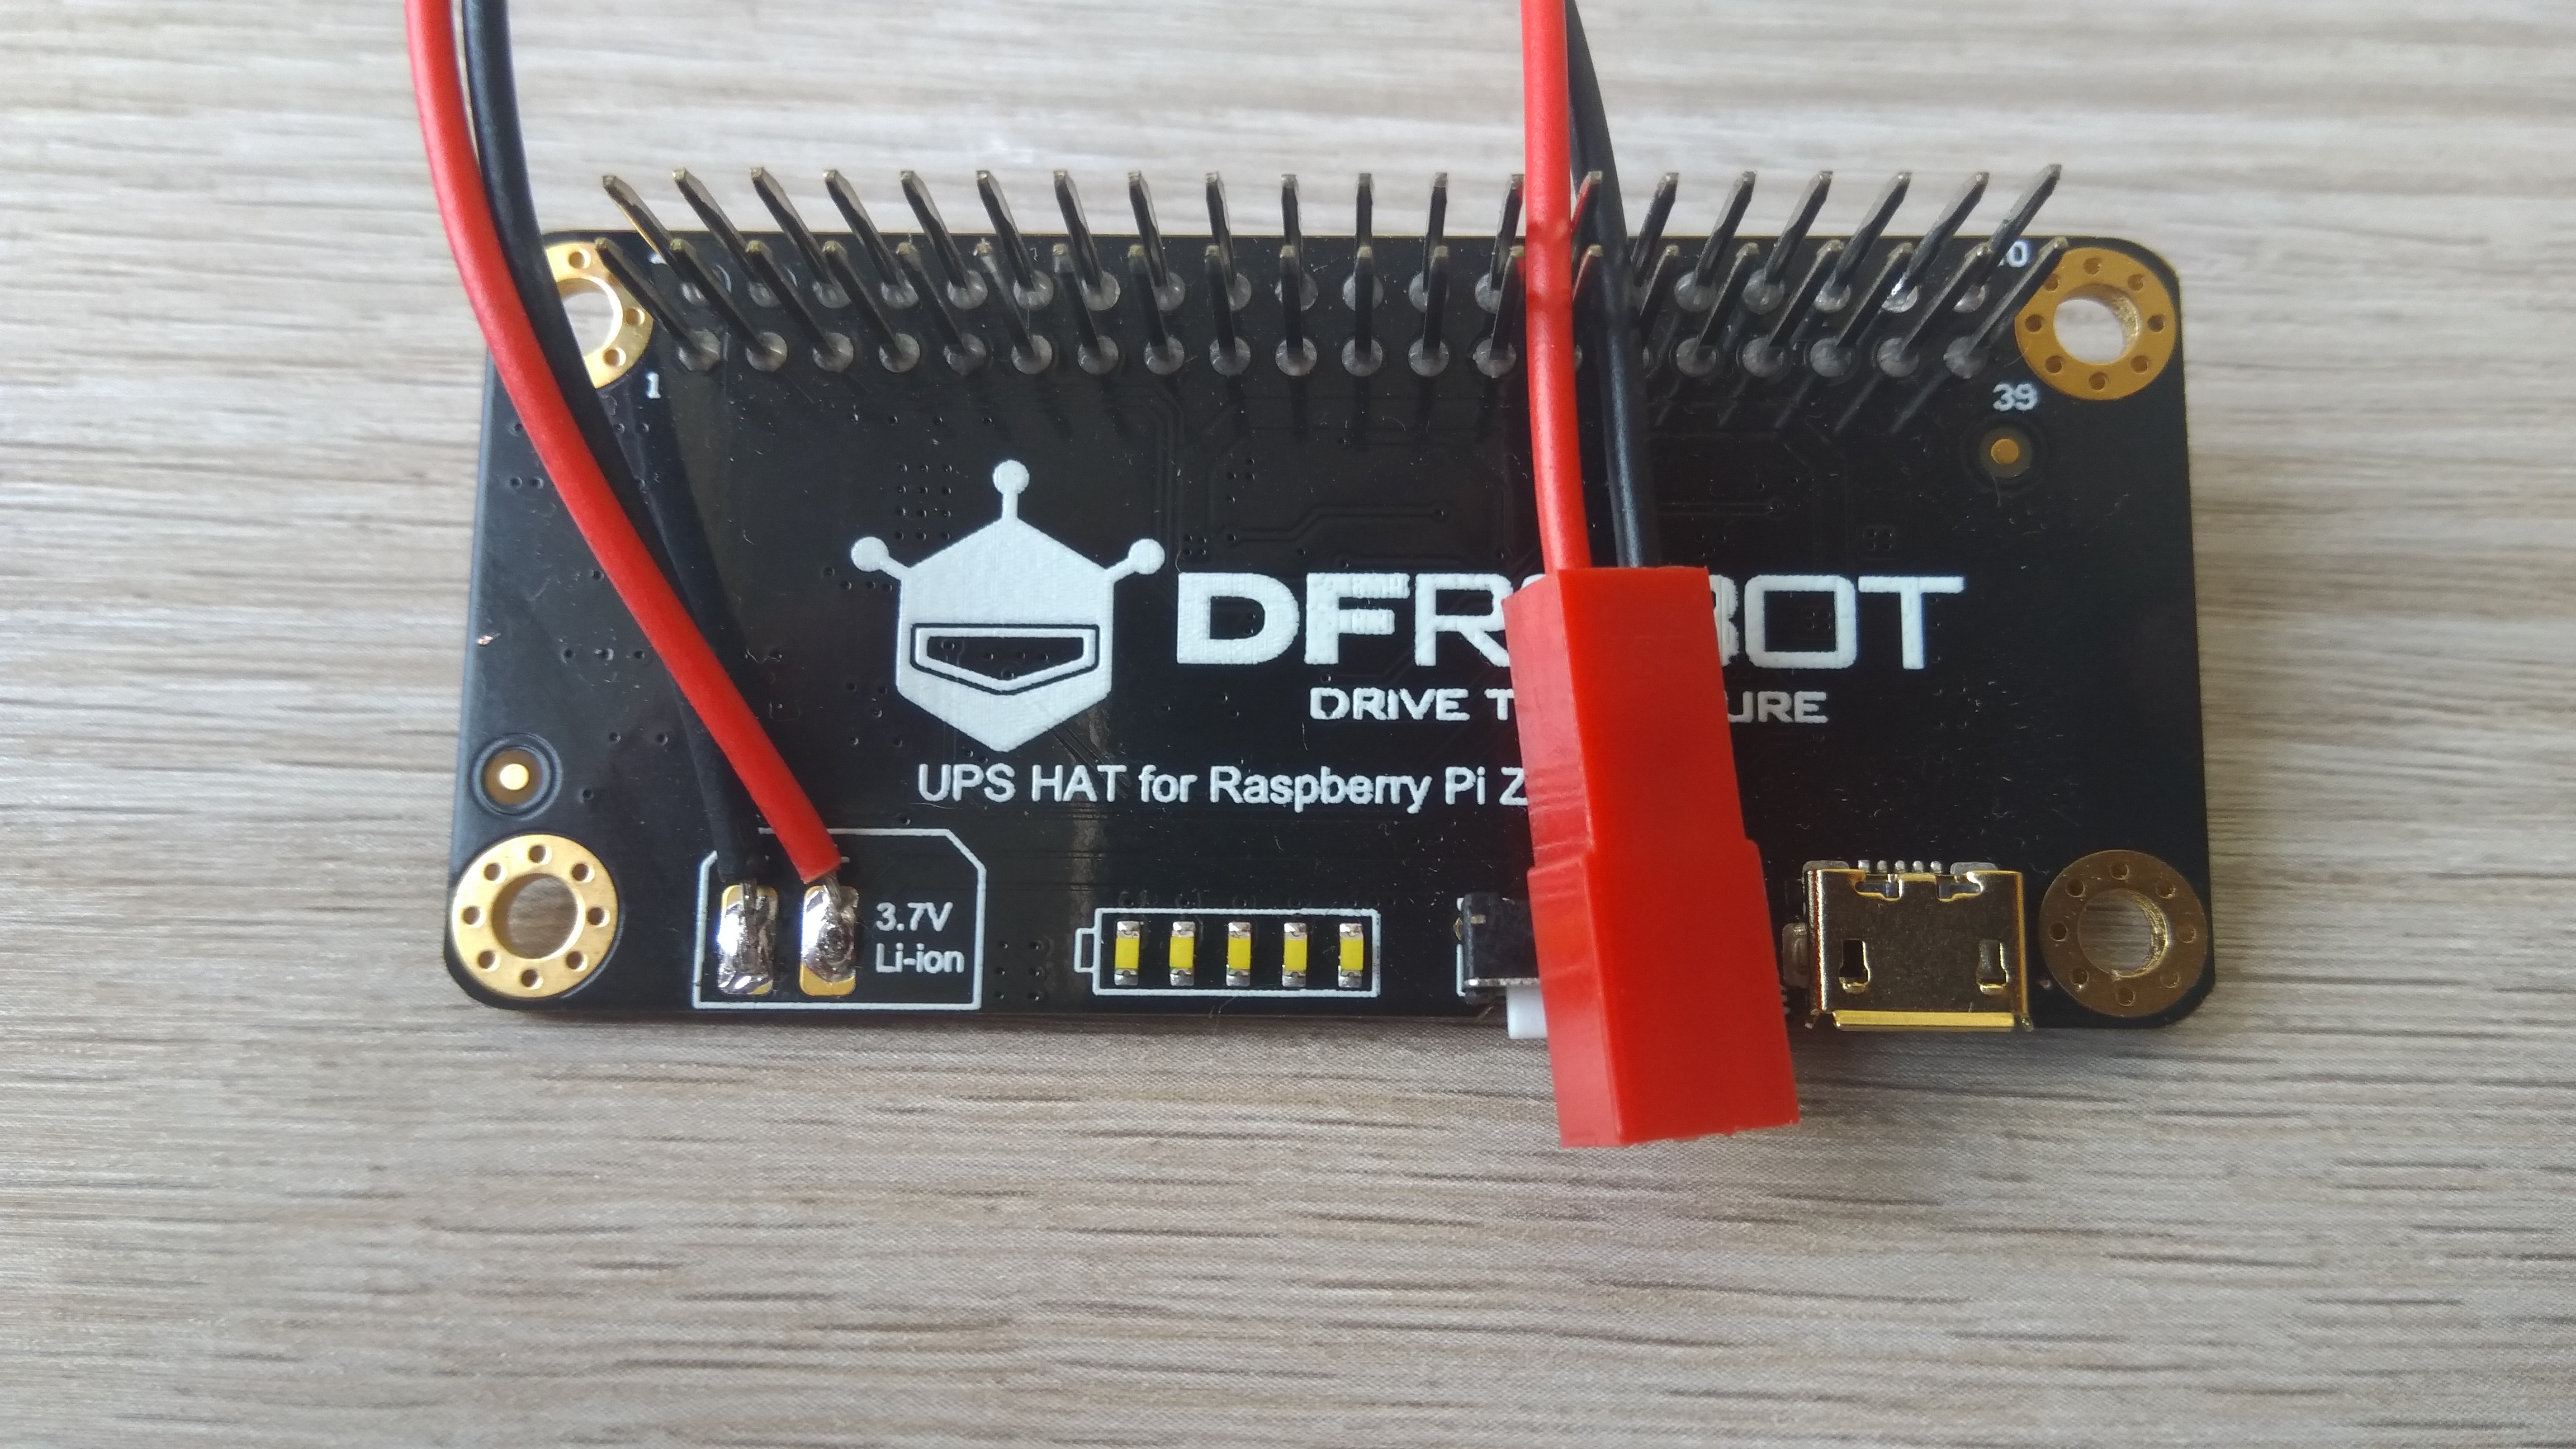 Look at these huge pins! Anyway, I put the HAT on Raspberry Pi and connected the battery. I clicked the button, the battery indicator on HAT flashed bright white and… nothing. I held the button a little longer, the battery indicator flashed bright white and… there it is! The Raspberry Pi green diode switched on. I successfully logged into Pi through SSH.
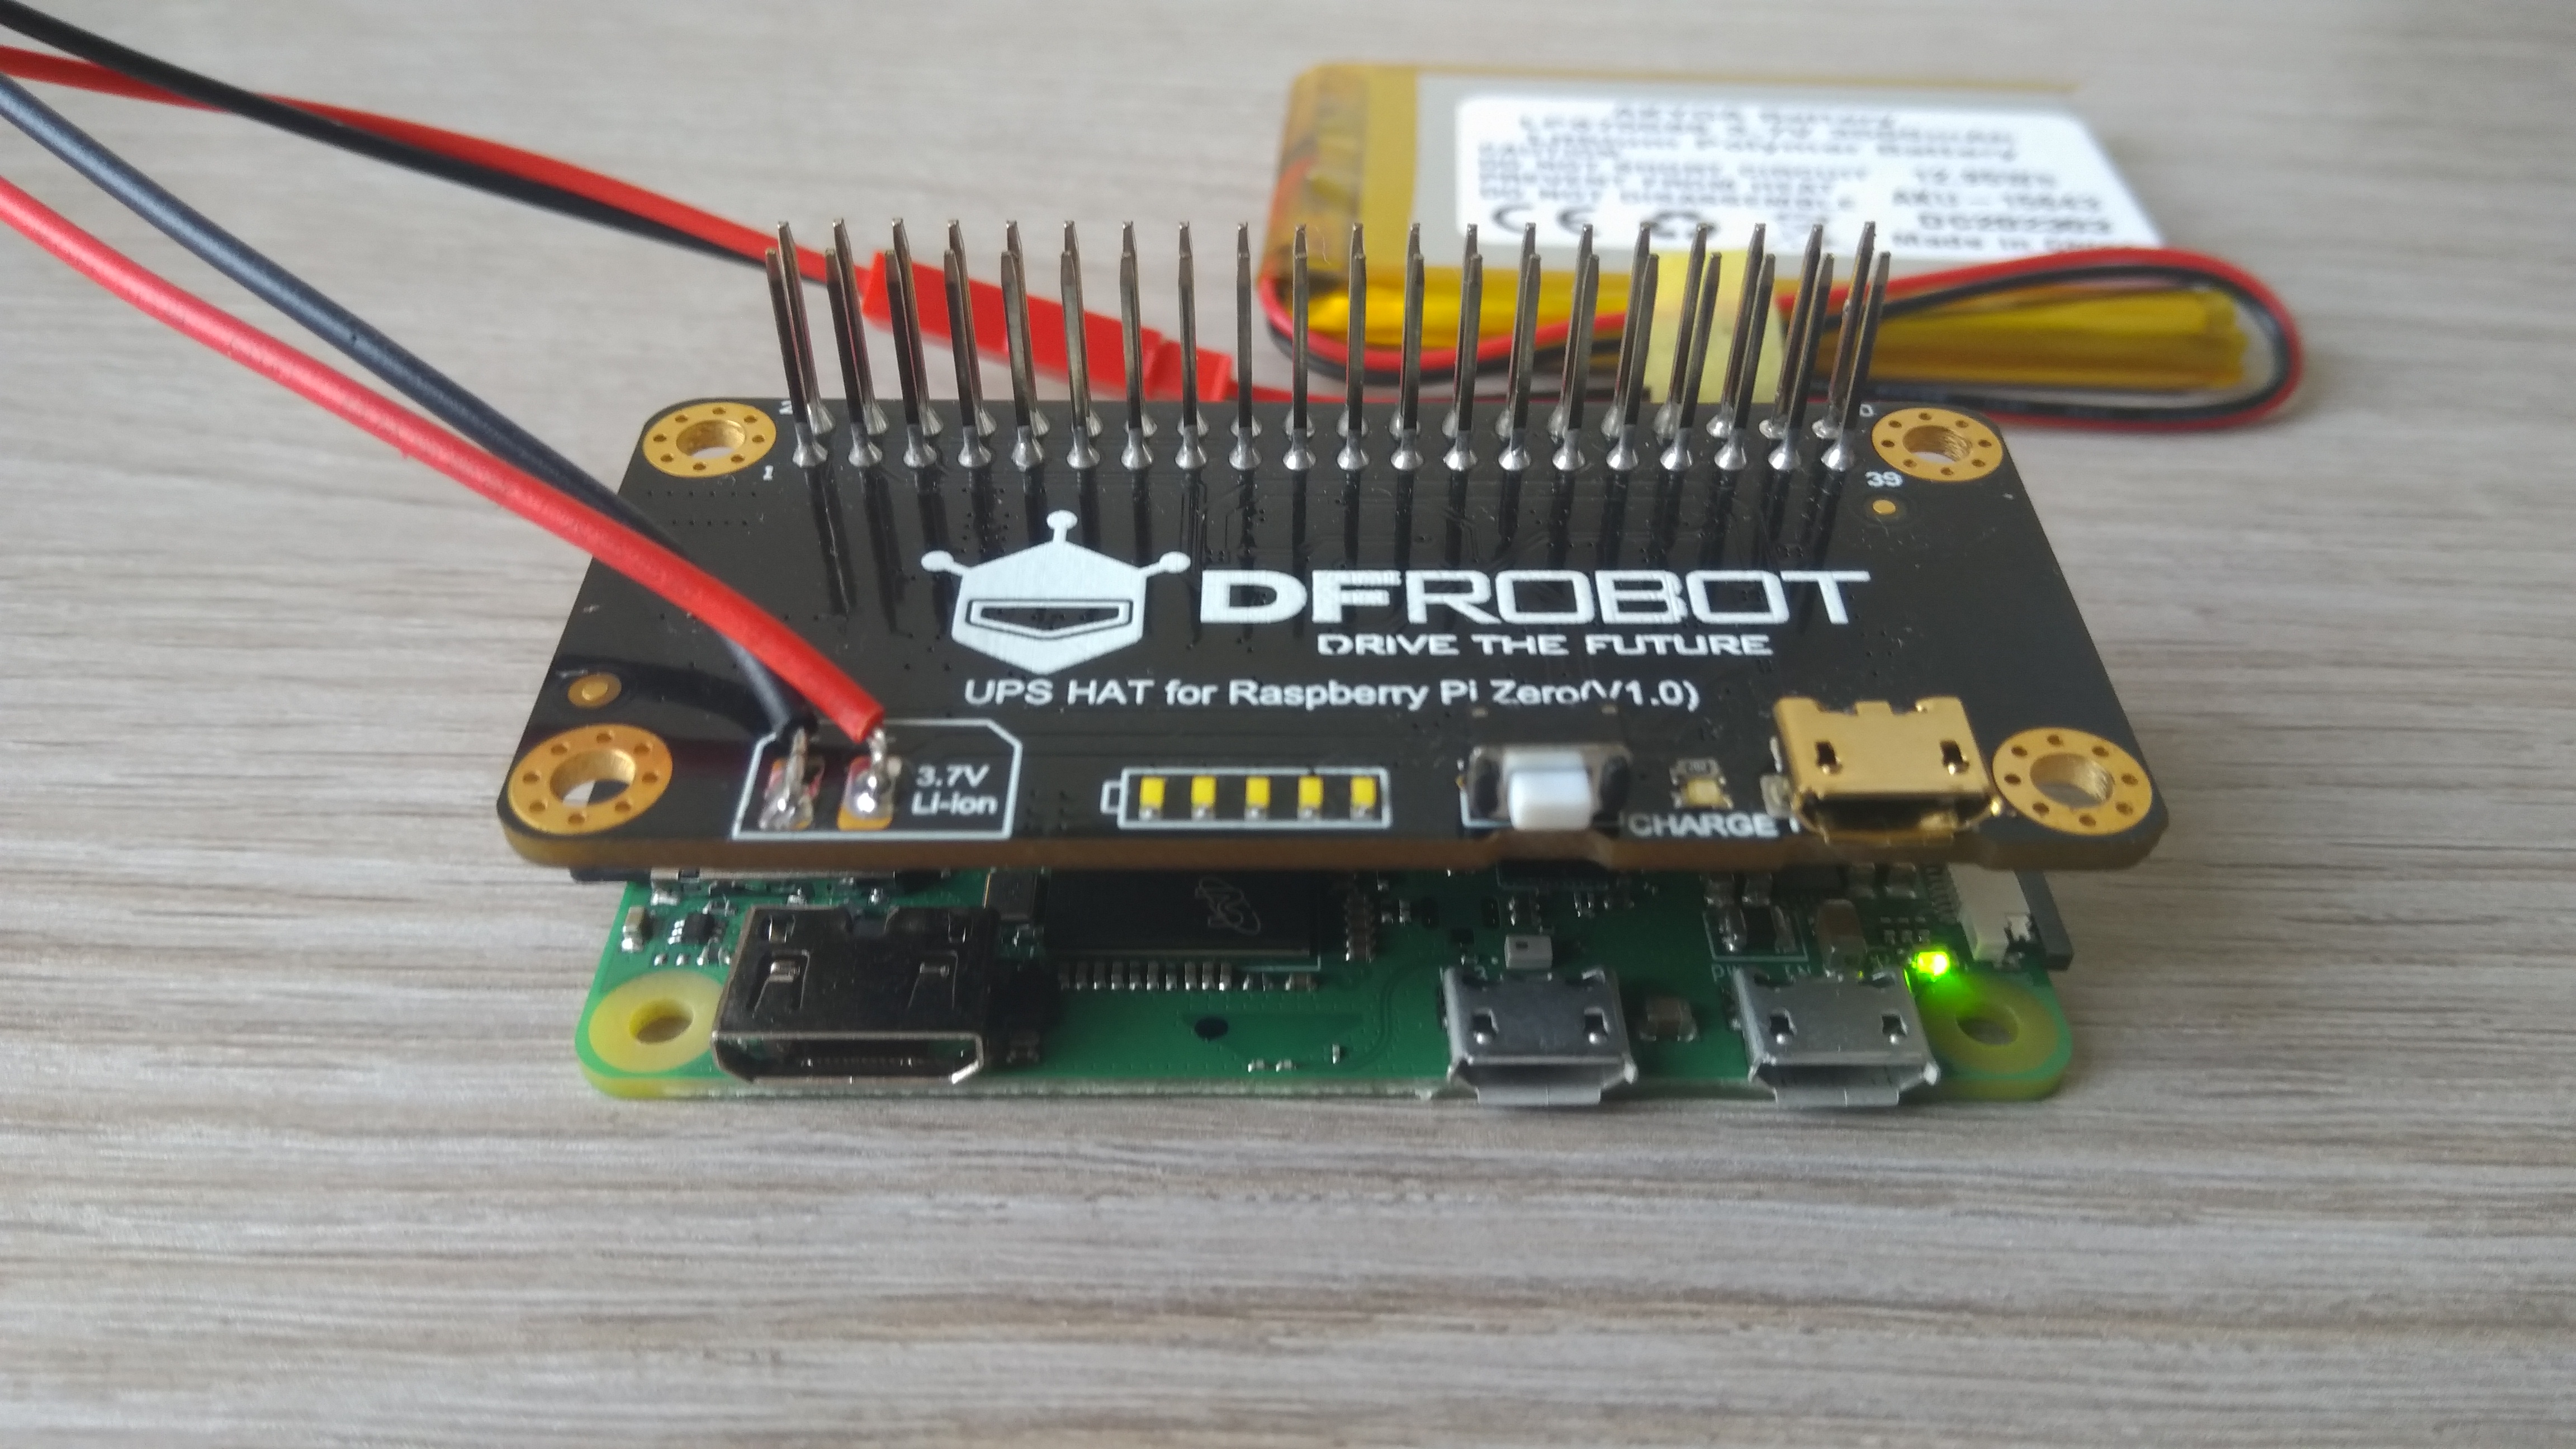 As I skimmed through the Net I read somewhere that the HAT allows for gentle shutdown when the battery is almost depleted, which is really nice.
UPS HAT - check! Moving on.
Buttons
The trickiest part to test was the button SHIM, because the only way to connect it is to solder it. As I stated in the previous post, I want it connected to the underside of Raspberry Pi. I do not know whether it is going to bite me in the bottom later, but now it seems to be a great idea. pinout.xyz said I needed to solder pins 3, 4, 5, 6, 17. After I soldered everything I was mortified - I had it upside down! Thankfully I did not have to unsolder, just make more solders and this time in correct places.
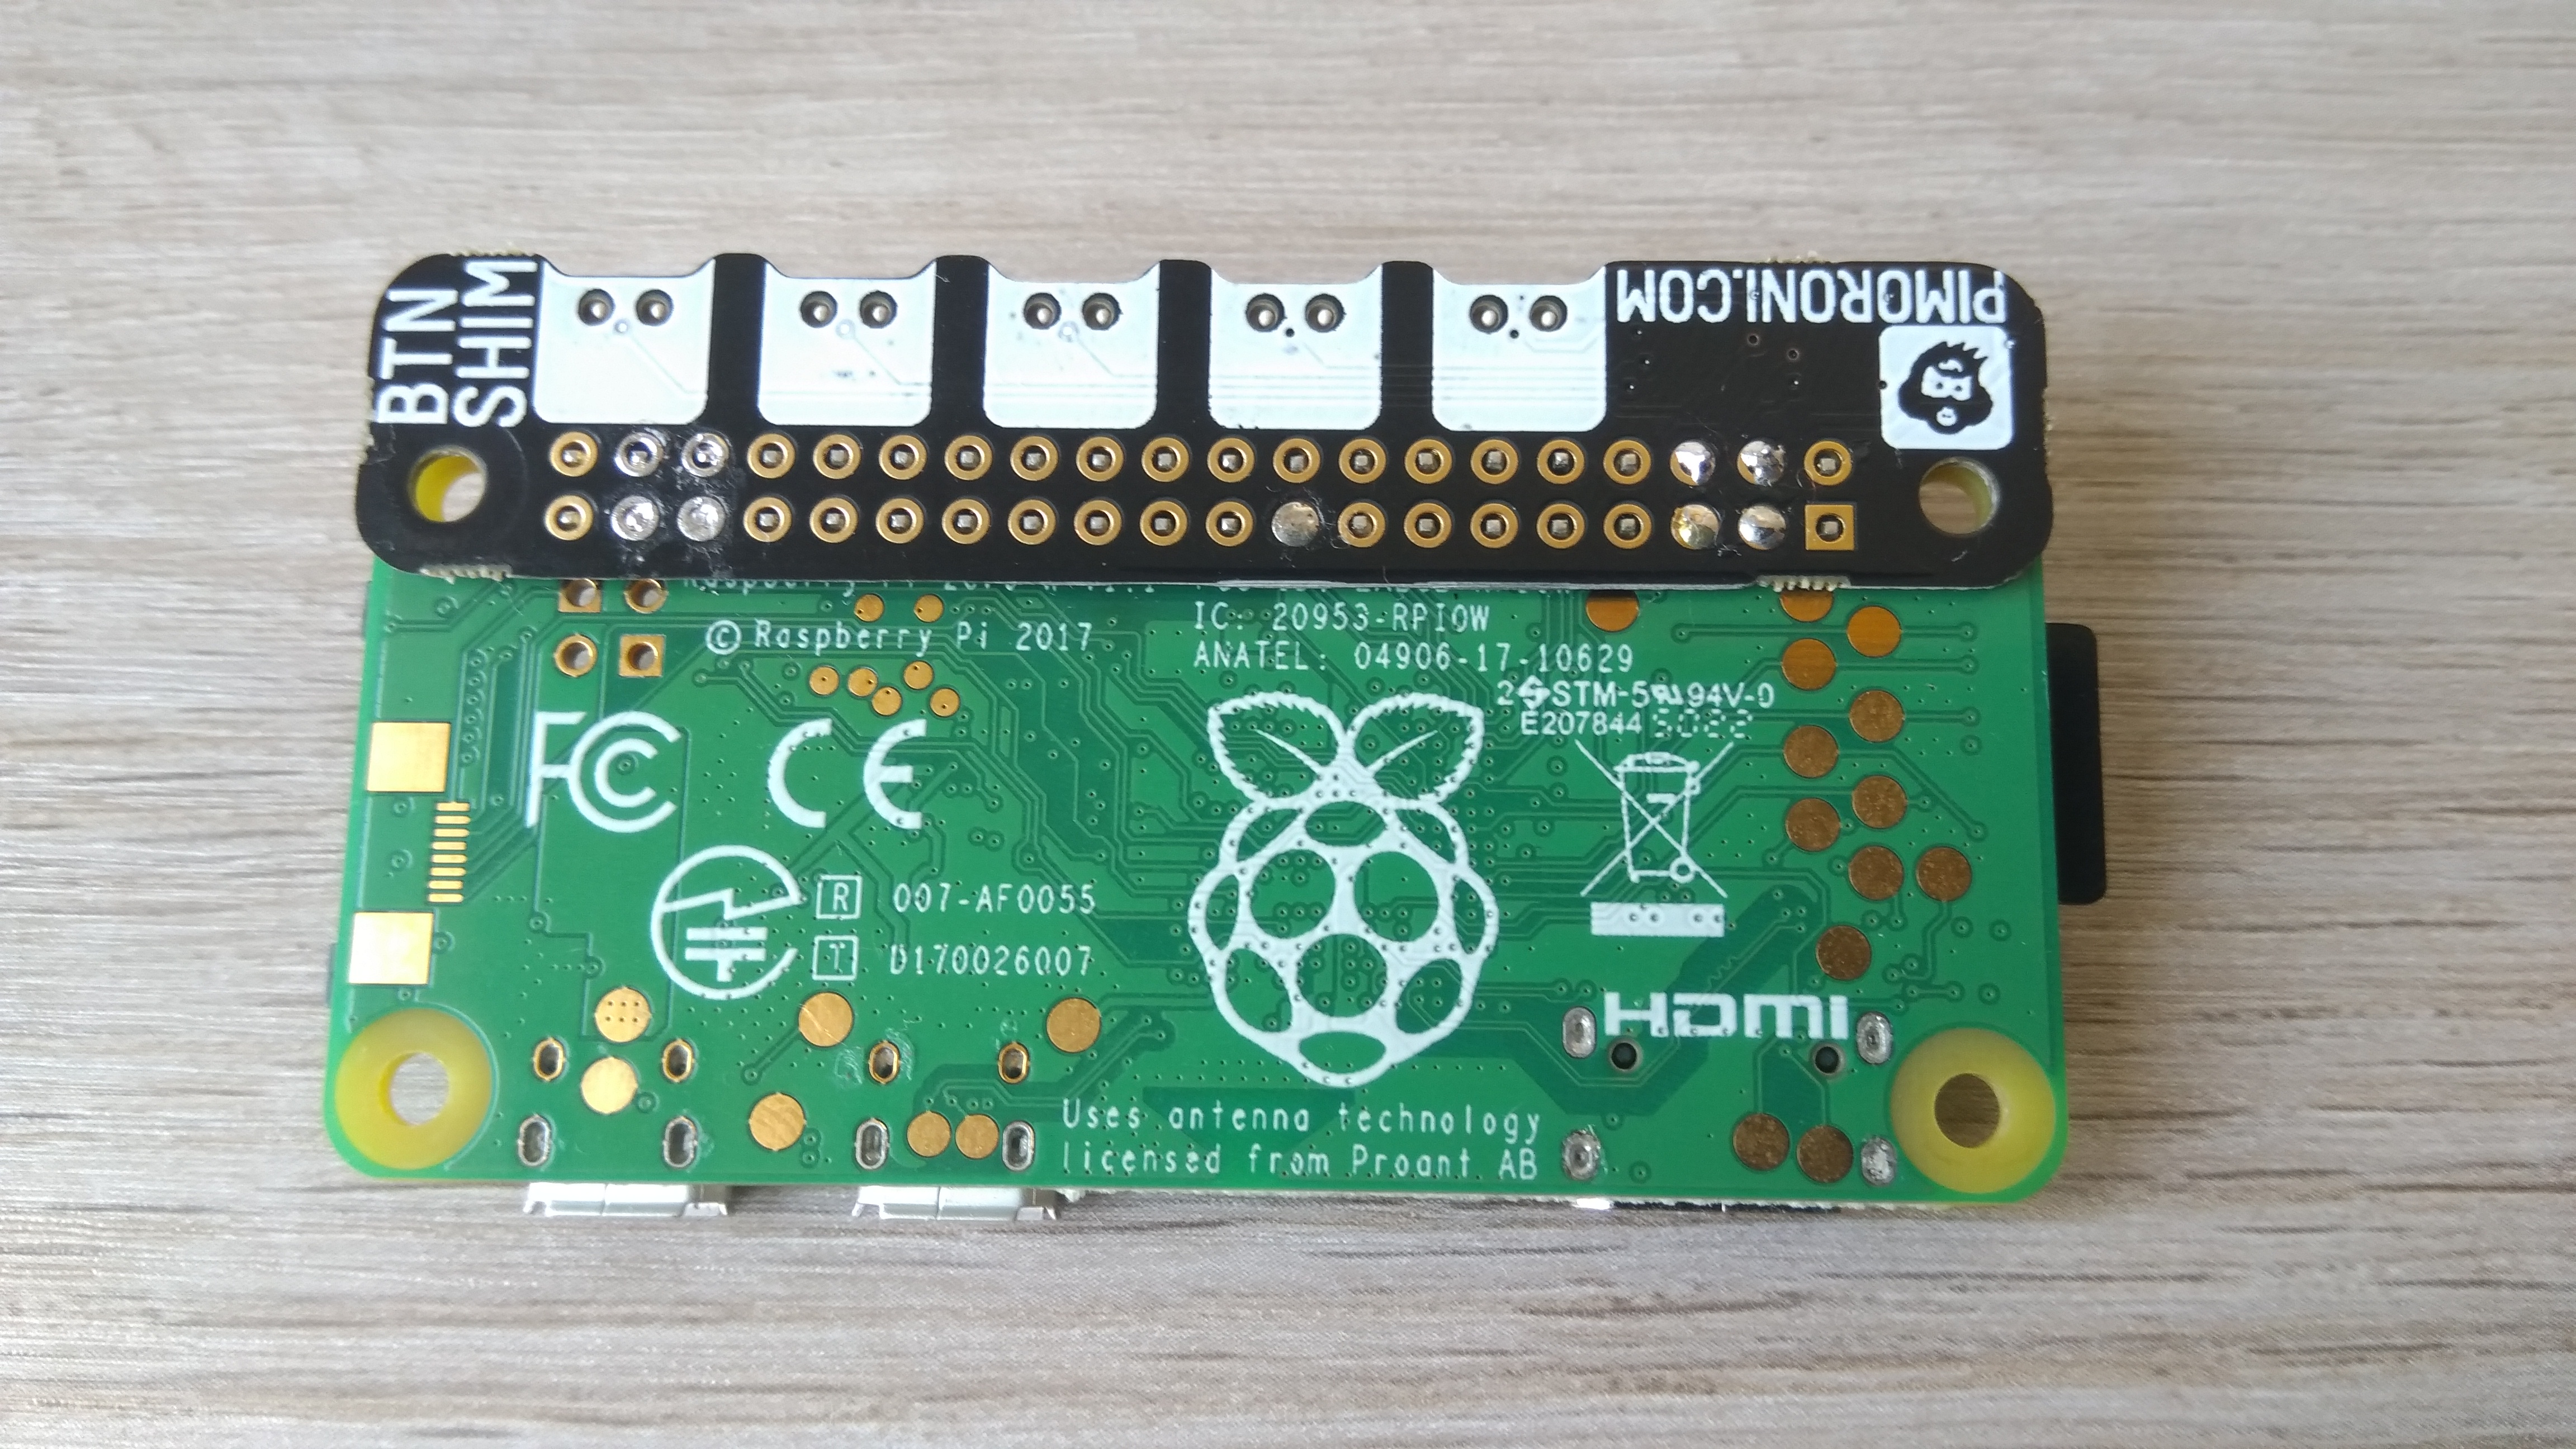 I know, they are not pretty, but I moved forward. As you can see, I tried to unsolder the wrong ones, but at the end of the day it does not matter. To test the buttons I had to set up Rust on my main machine to cross-compile to Raspberry Pi.
Rust for Raspberry Pi
Setting up Rust and compiling on Pi would take too long to be worth it. To cross-compile from x86_64 machine to Raspberry Pi Zero W, first I had to add a new target:
$ rustup add target arm-unknown-linux-gnueabihf
I had no luck with a toolchain provided by my distro’s repository, so I had to grab one from here and put it in my project directory under rpi_tools. Then I created file .cargo/config with the following contents:
[build]
[target.arm-unknown-linux-gnueabihf]
linker = "rpi_tools/arm-bcm2708/arm-rpi-4.9.3-linux-gnueabihf/bin/arm-linux-gnueabihf-gcc"
In this file I specified the custom linker I just downloaded. Rust is now ready to compile for Pi.
To get a quick glance over the operation of SHIM I used the rainbow.rs example included with mzyy94’s library. I compiled the file issuing:
$ cargo build --release --target=arm-unknown-linux-gnueabihf
and scp‘d it to my Pi. The LED of Button SHIM changes color with button presses as intended.
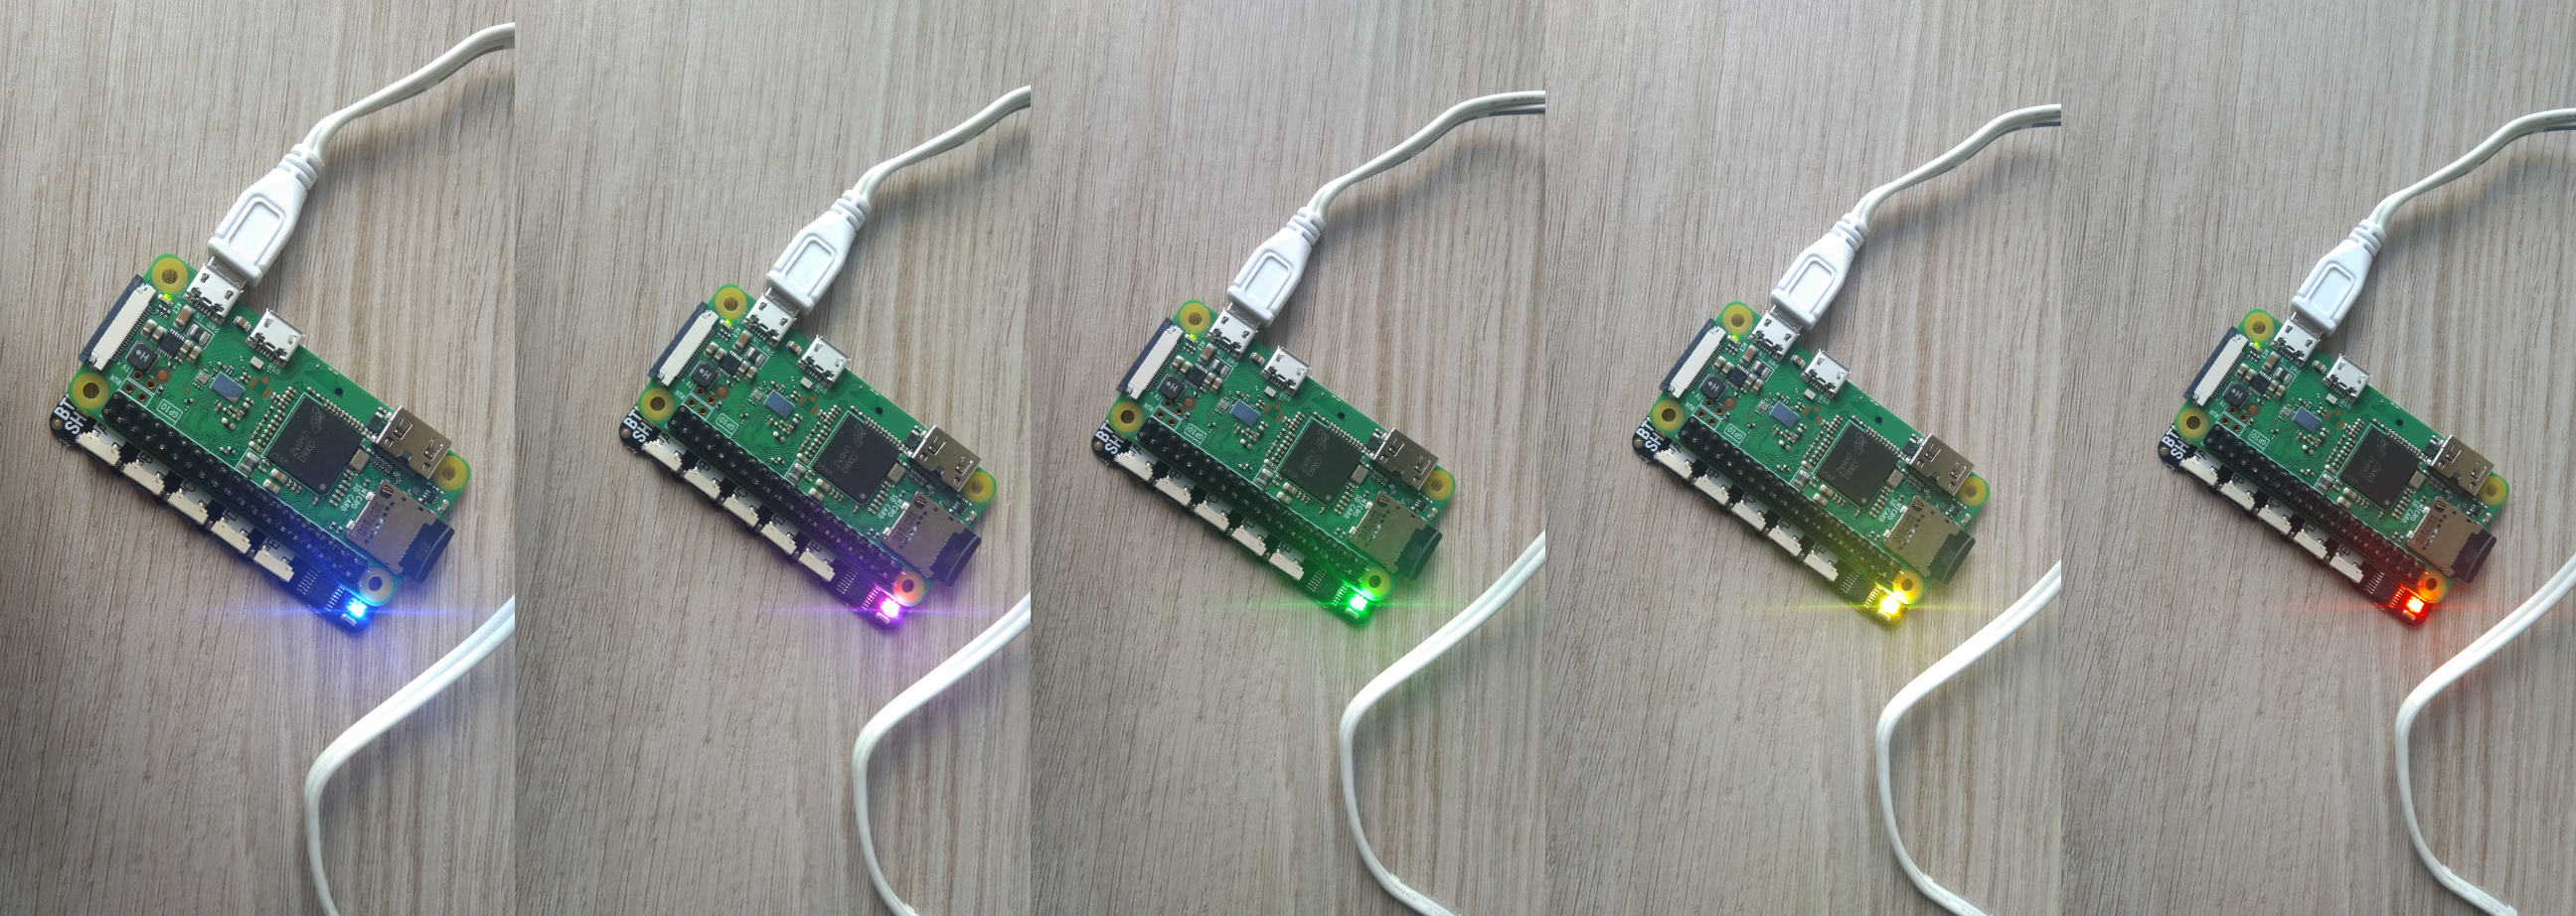 Buttons - check!
Conclusion
I managed to successfully test all hardware without problems. With Rust set up to producing ARM binaries I am ready to write software for this device.
In the next step I will be trying to make the display show whatever I order it to. I will also decide how I want to interact with the finished contraption, i.e. whether I should write a whole custom program a’la Kodi and encapsulate all functionality within it, or to make it more like a Linux box with access to the underlying OS.